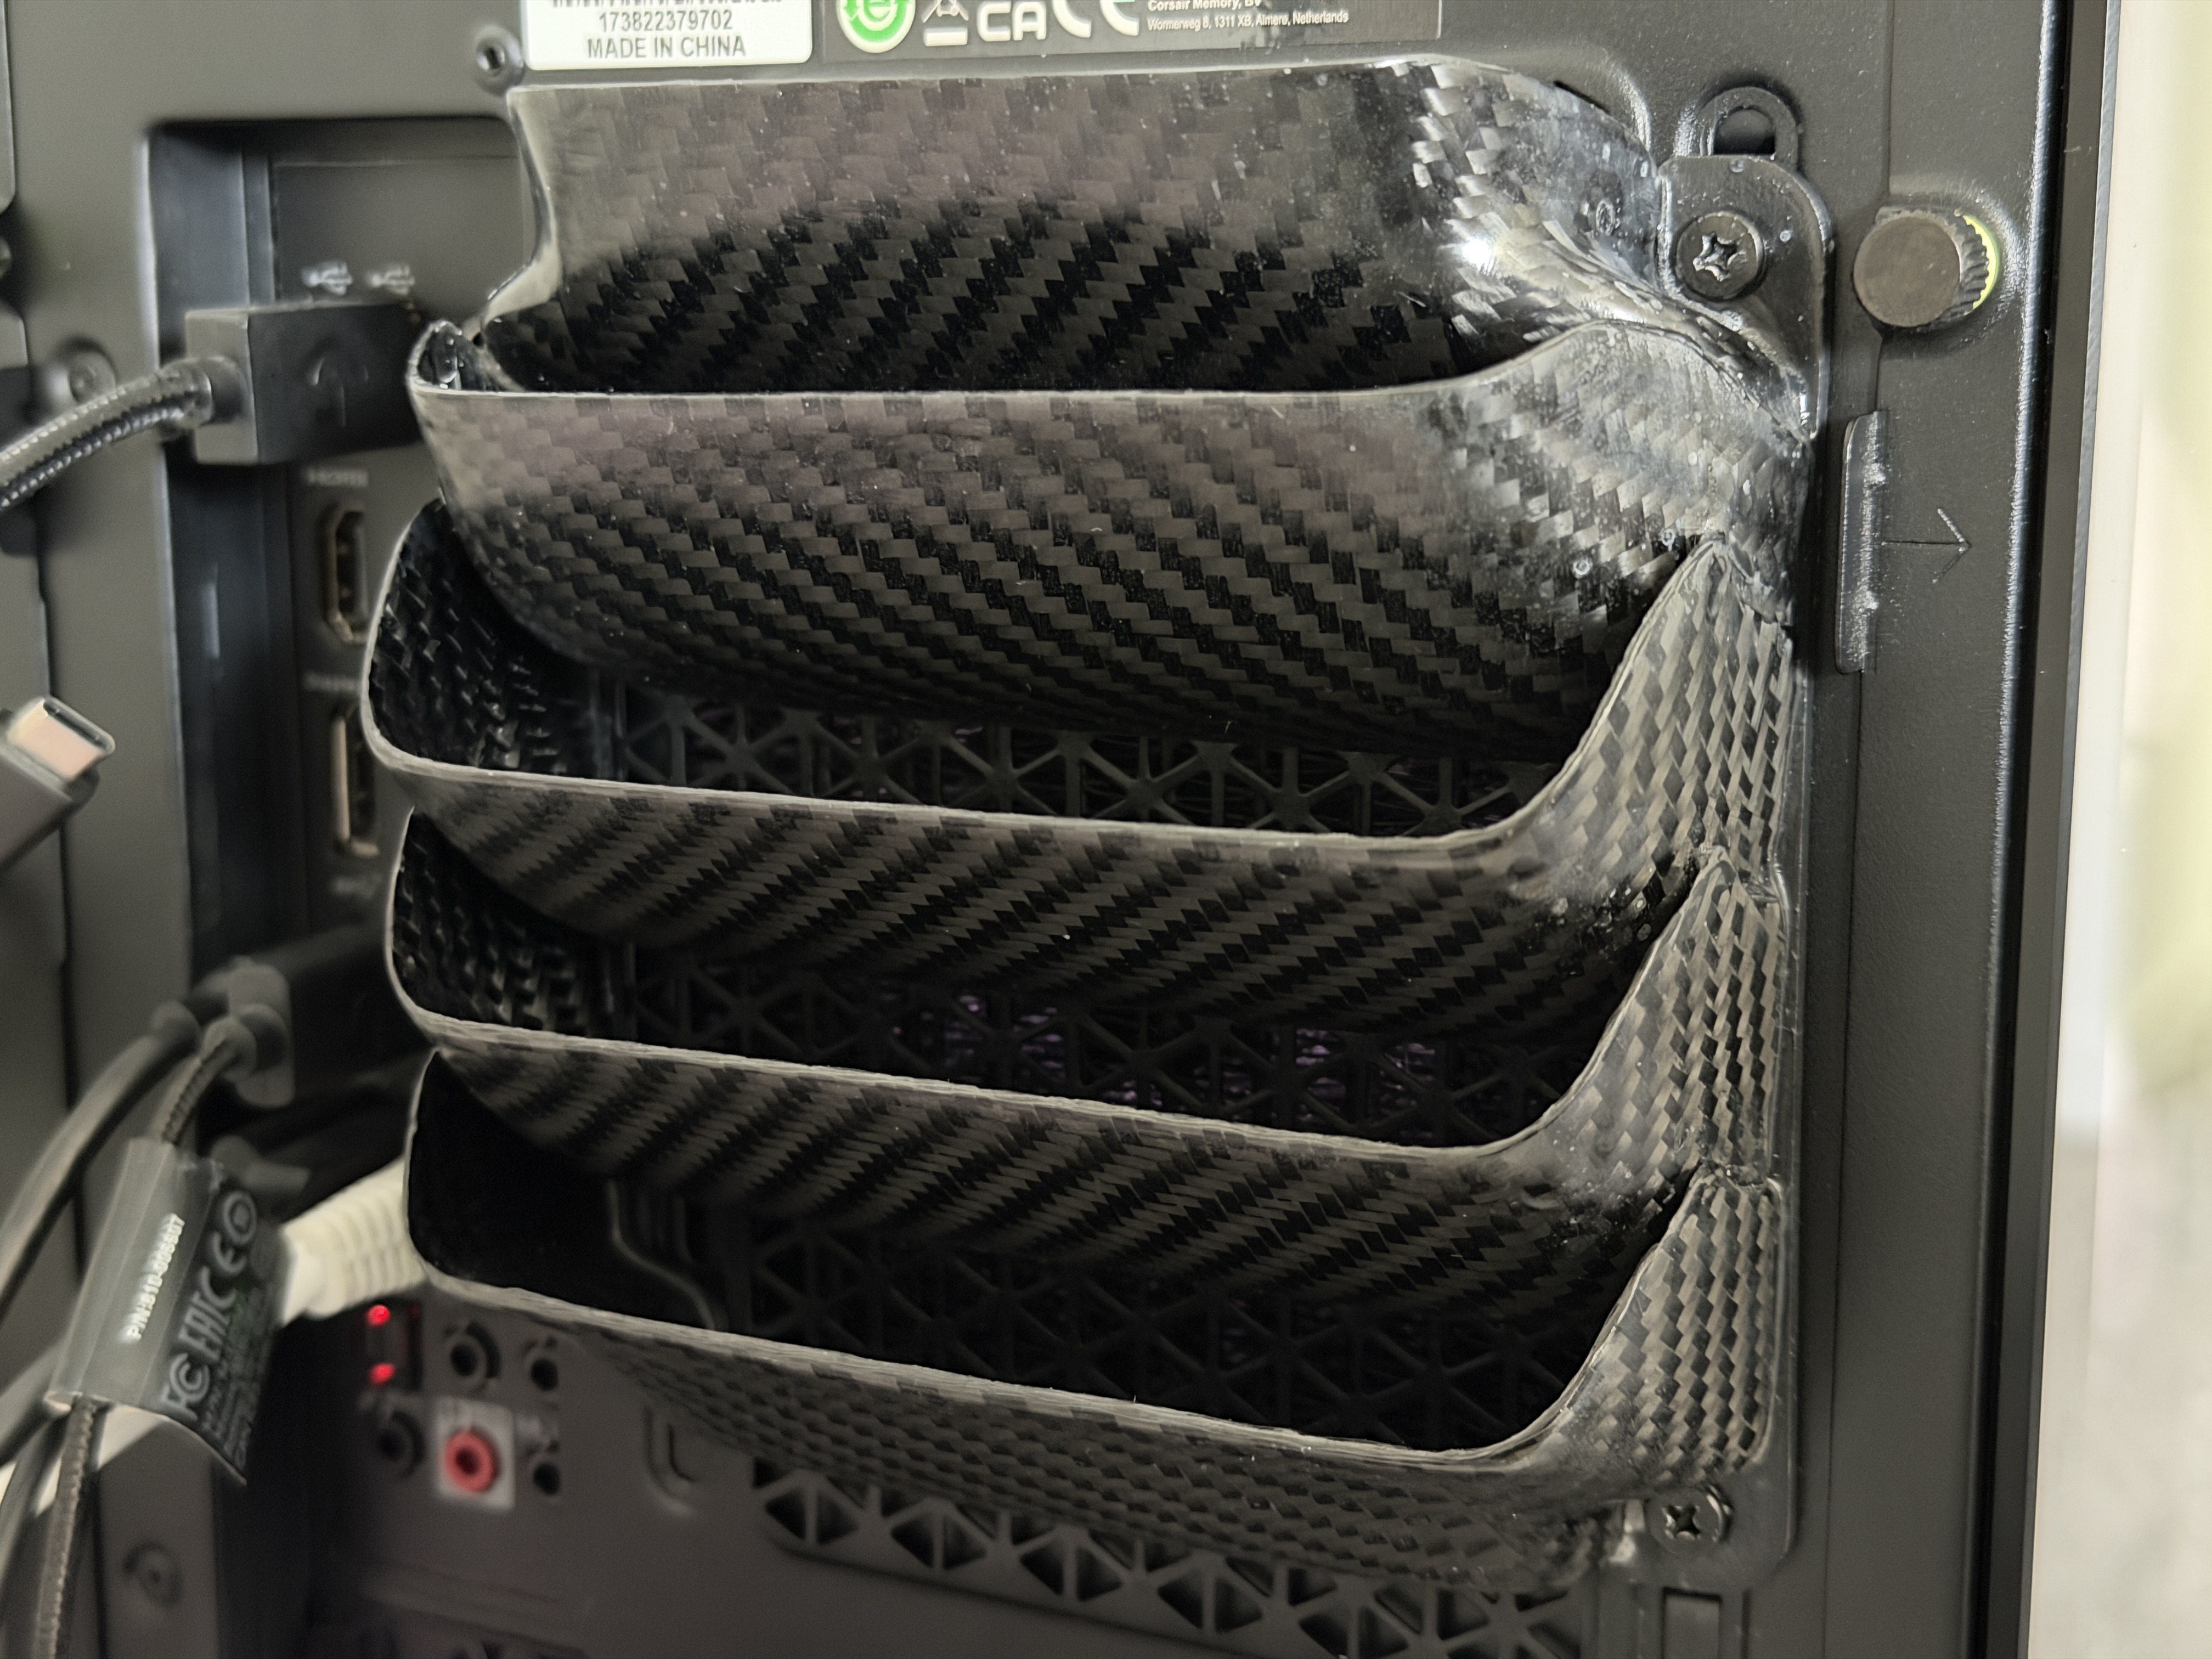
Computer Fan Vents
September 2025
Overview
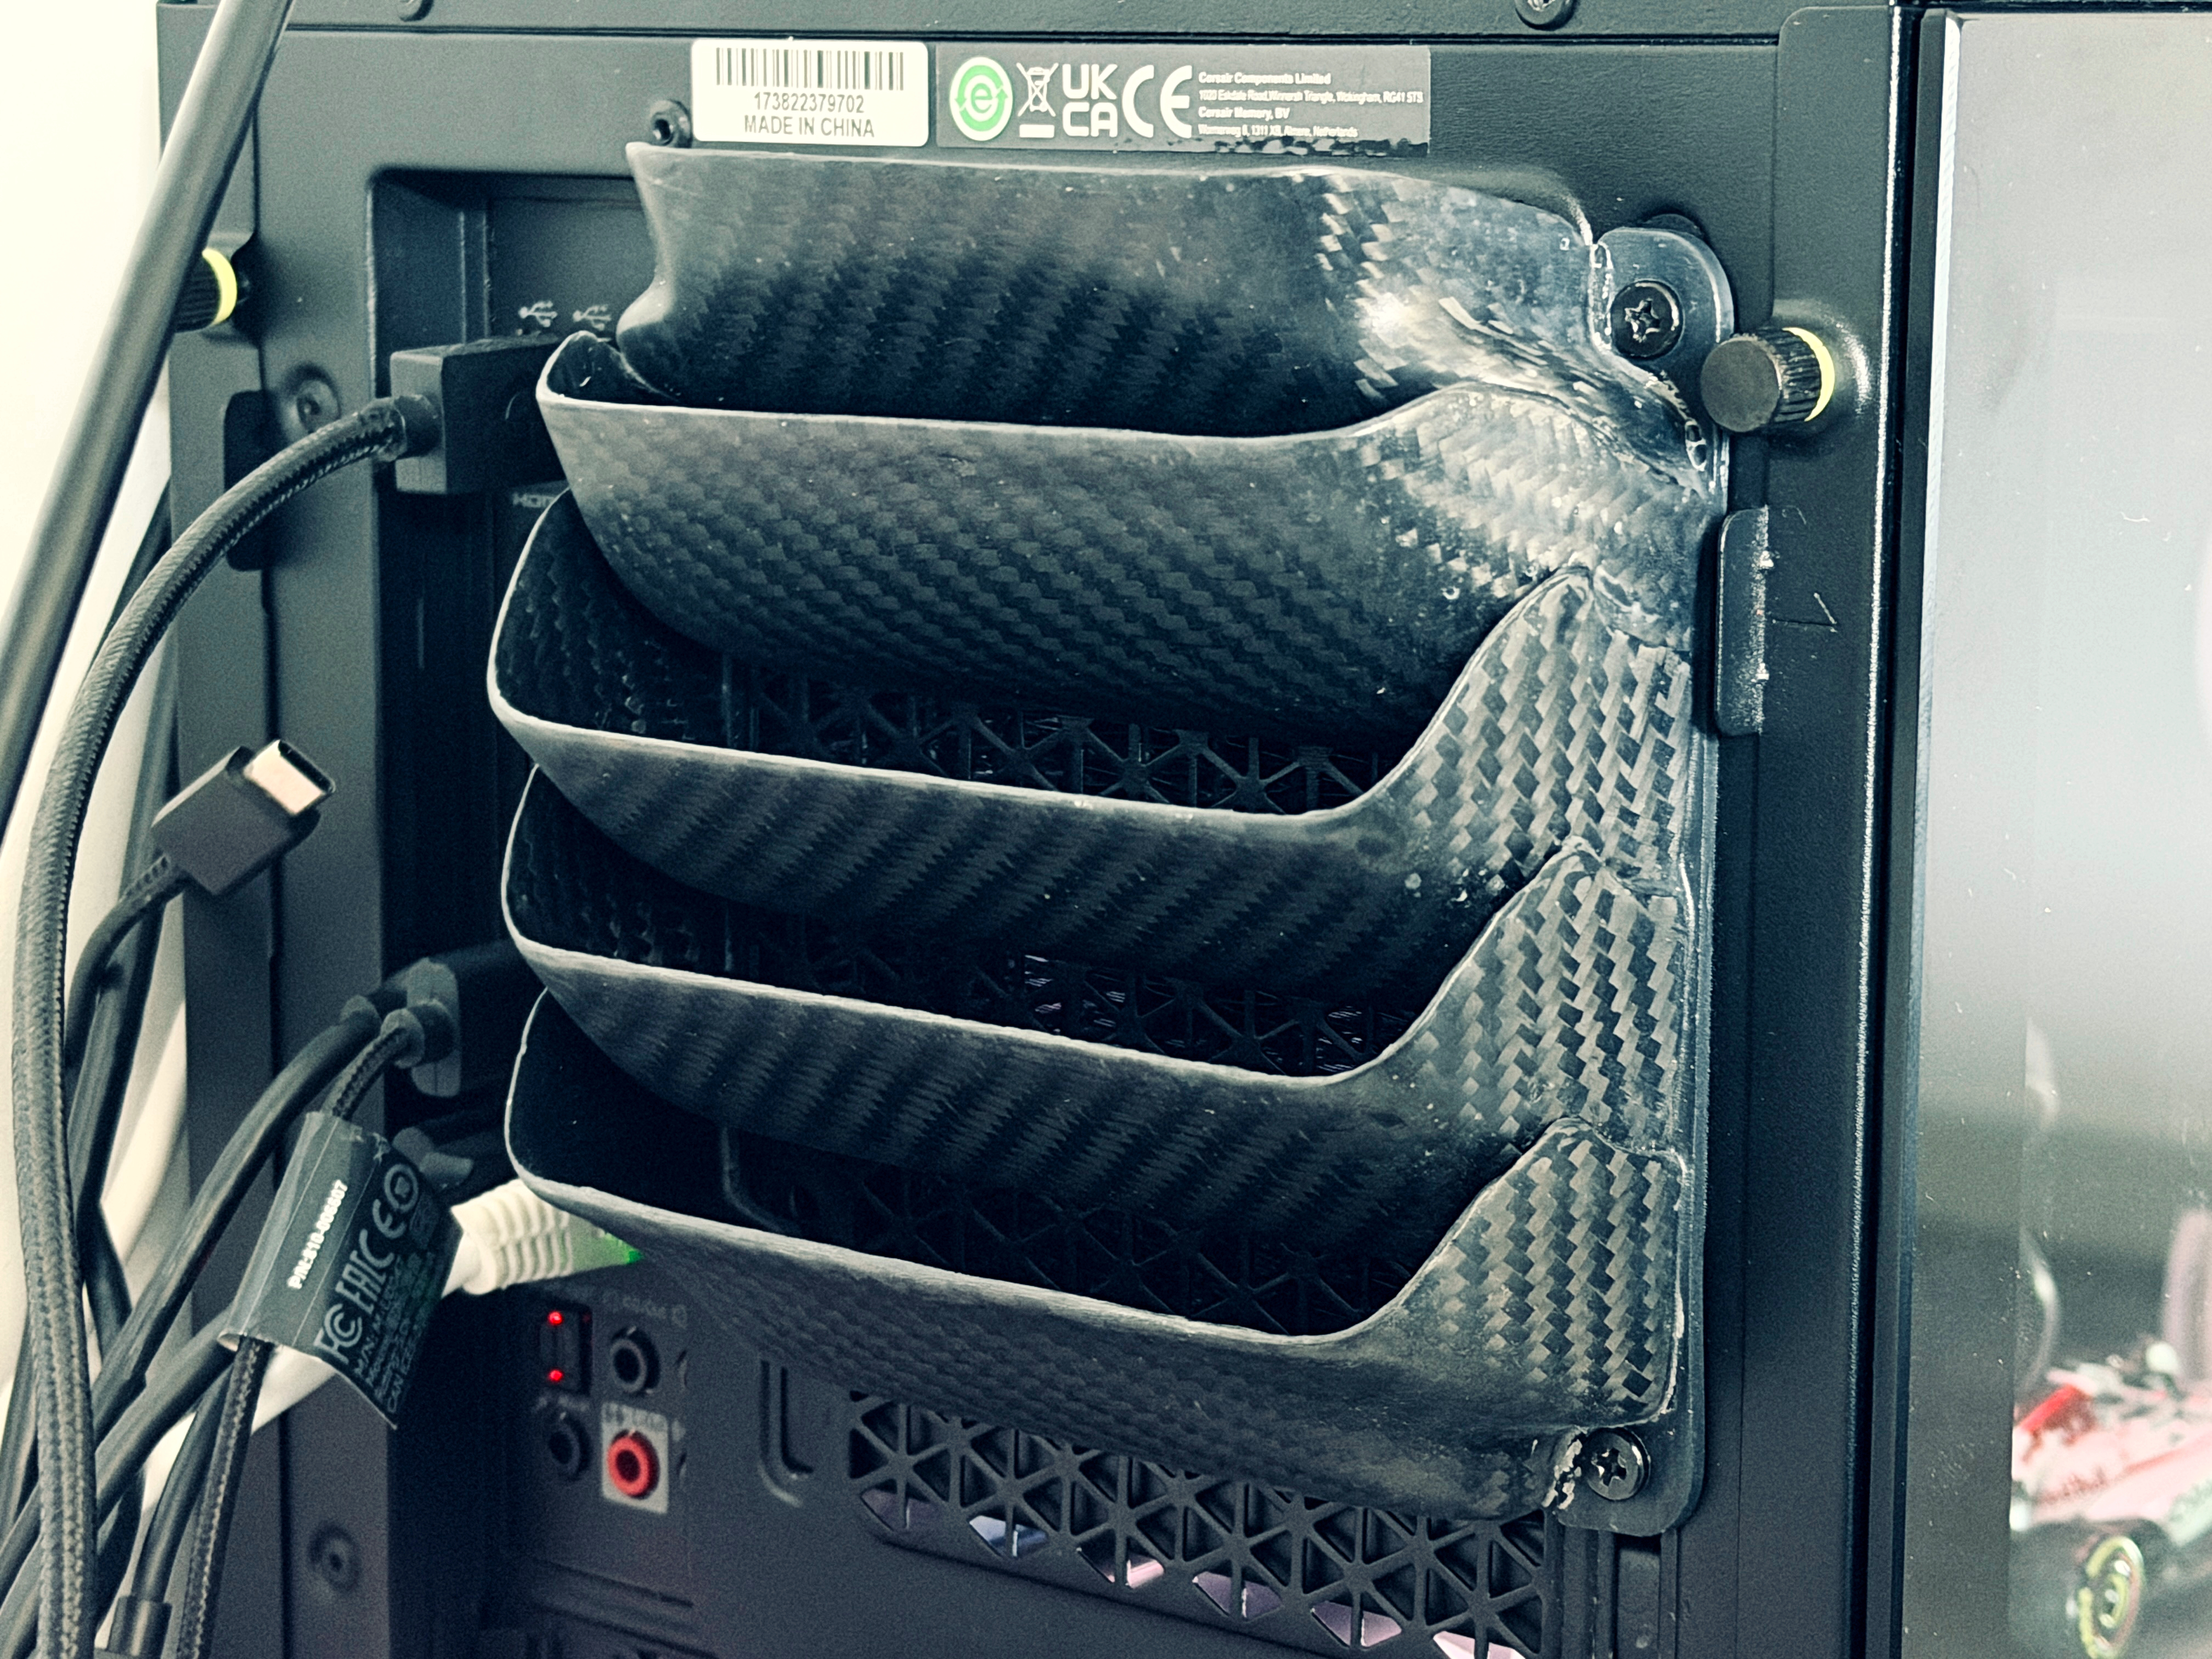
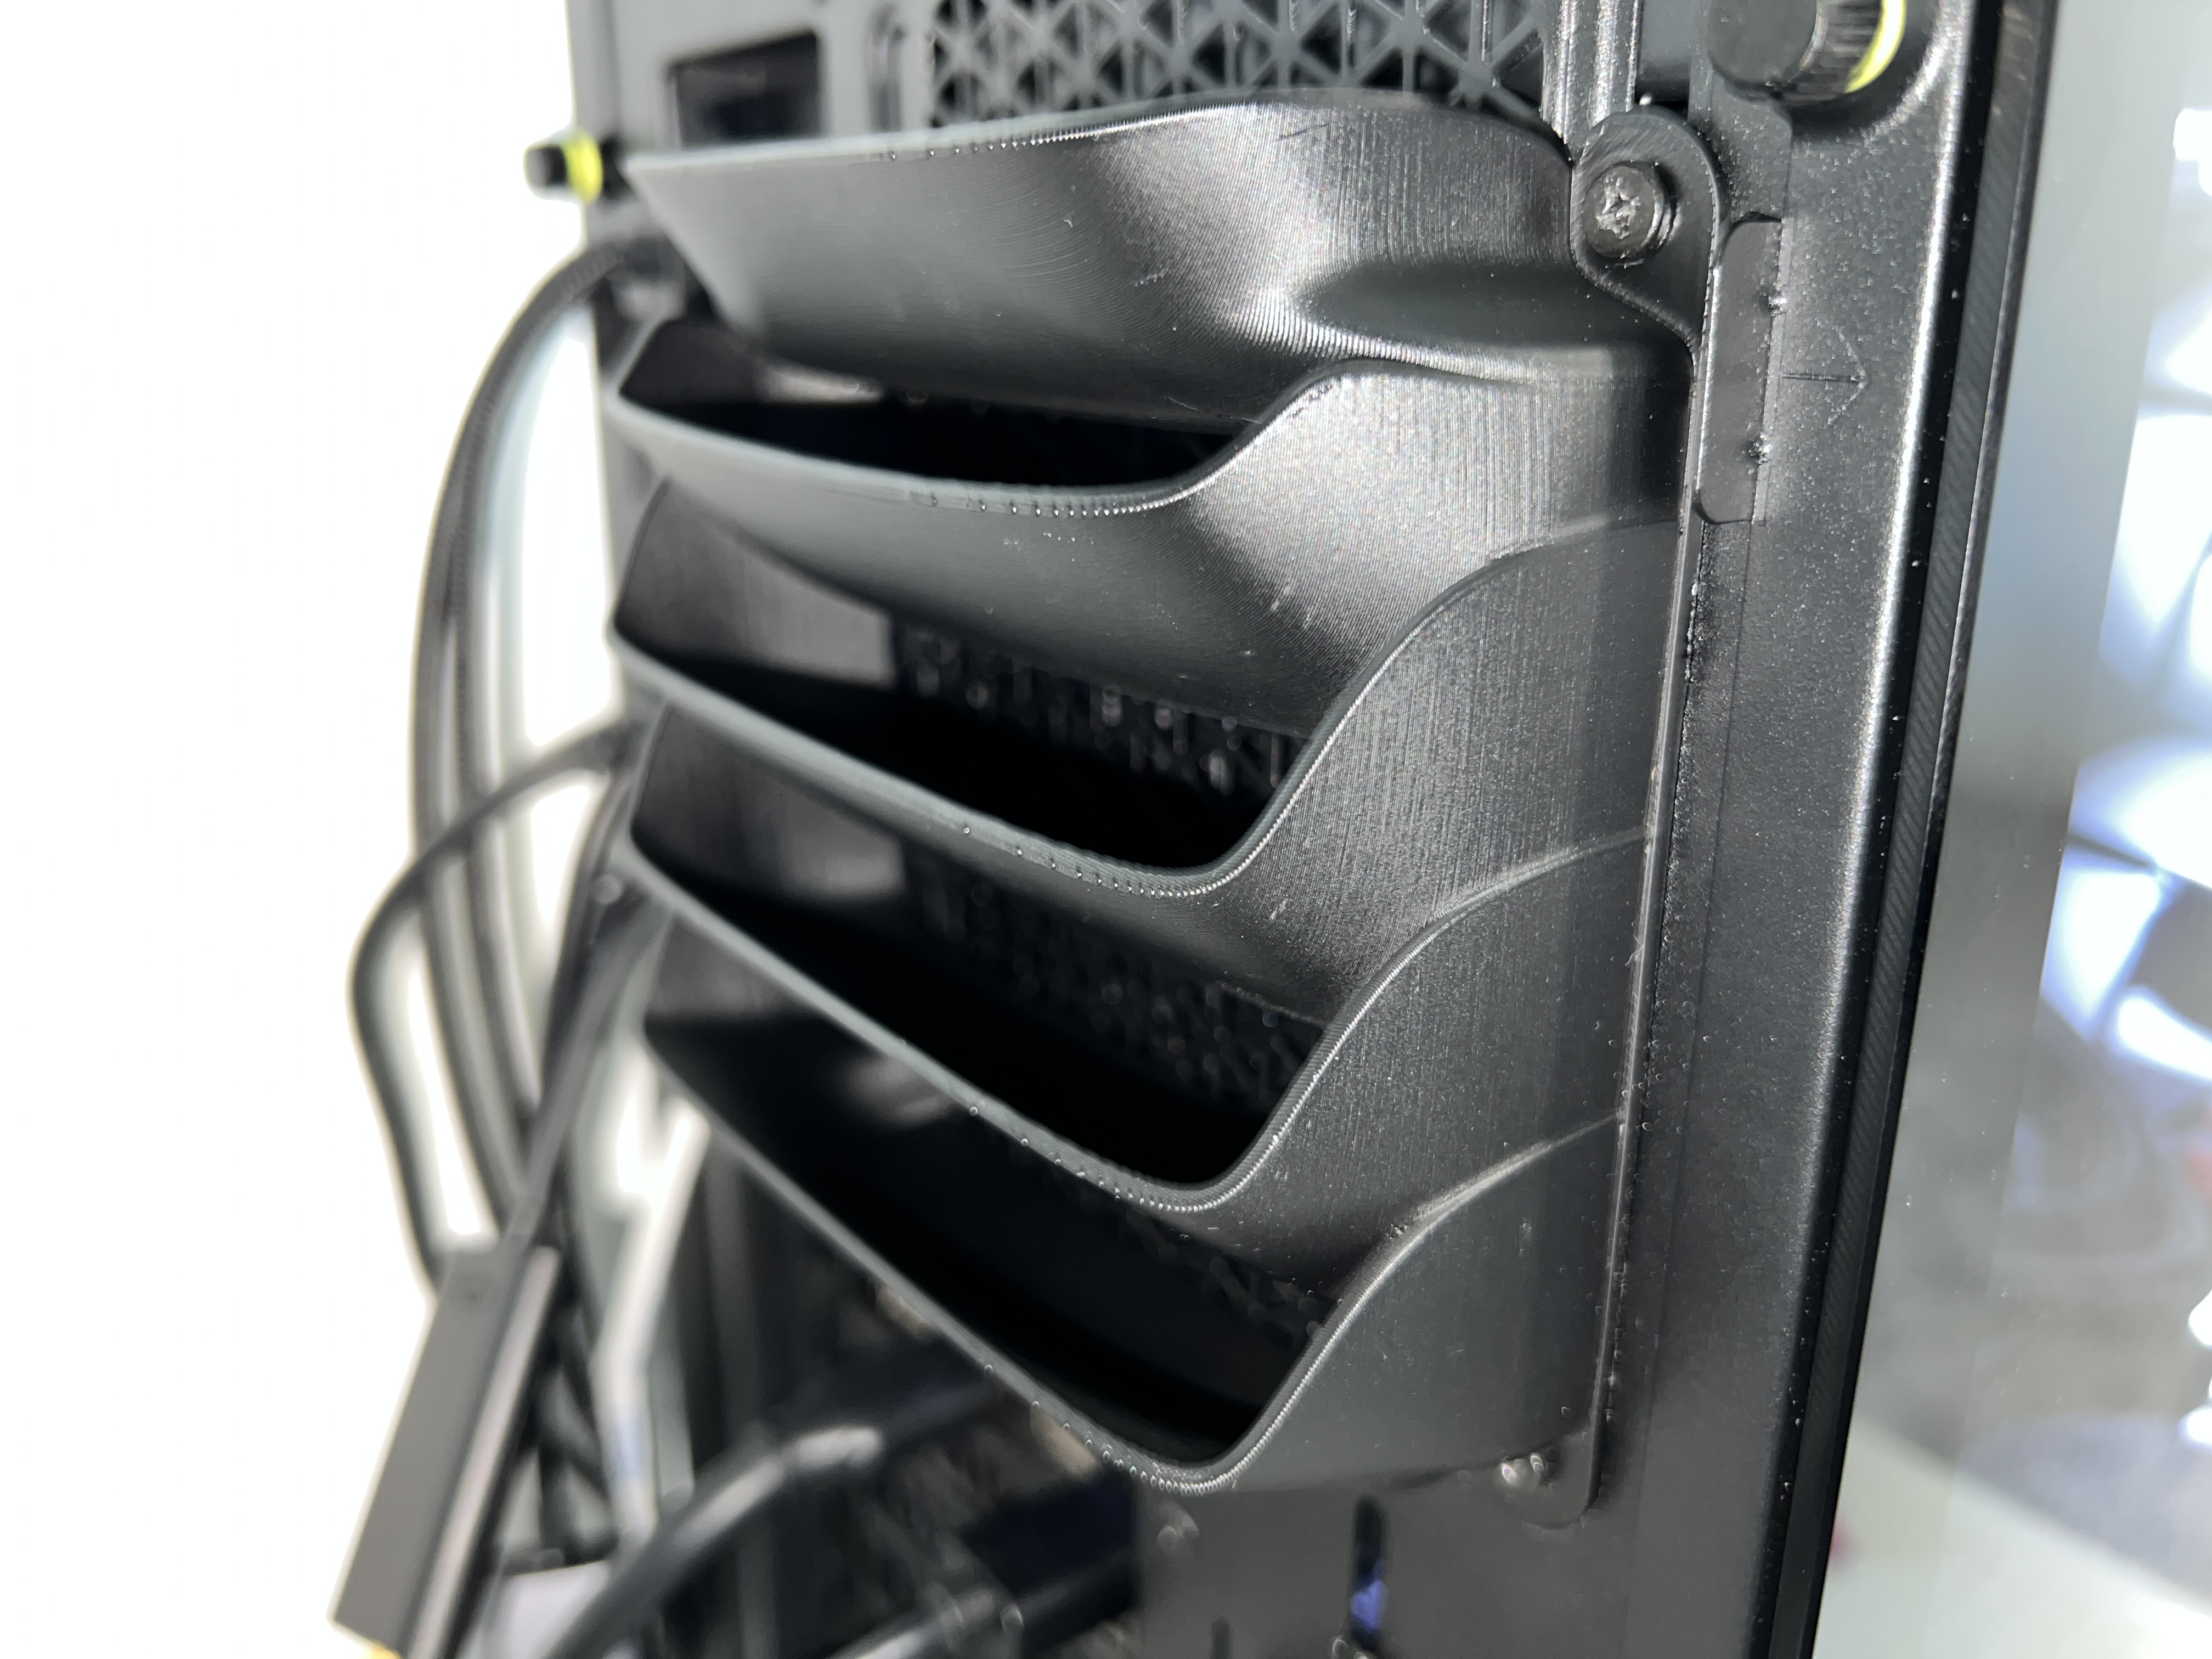
I initially came up with the idea for these fan vents to direct the air from my computer's rear fan, which exhausted the hot air from the AIO cooler's radiator, upwards rather than toward where I was sitting.
First Iterations
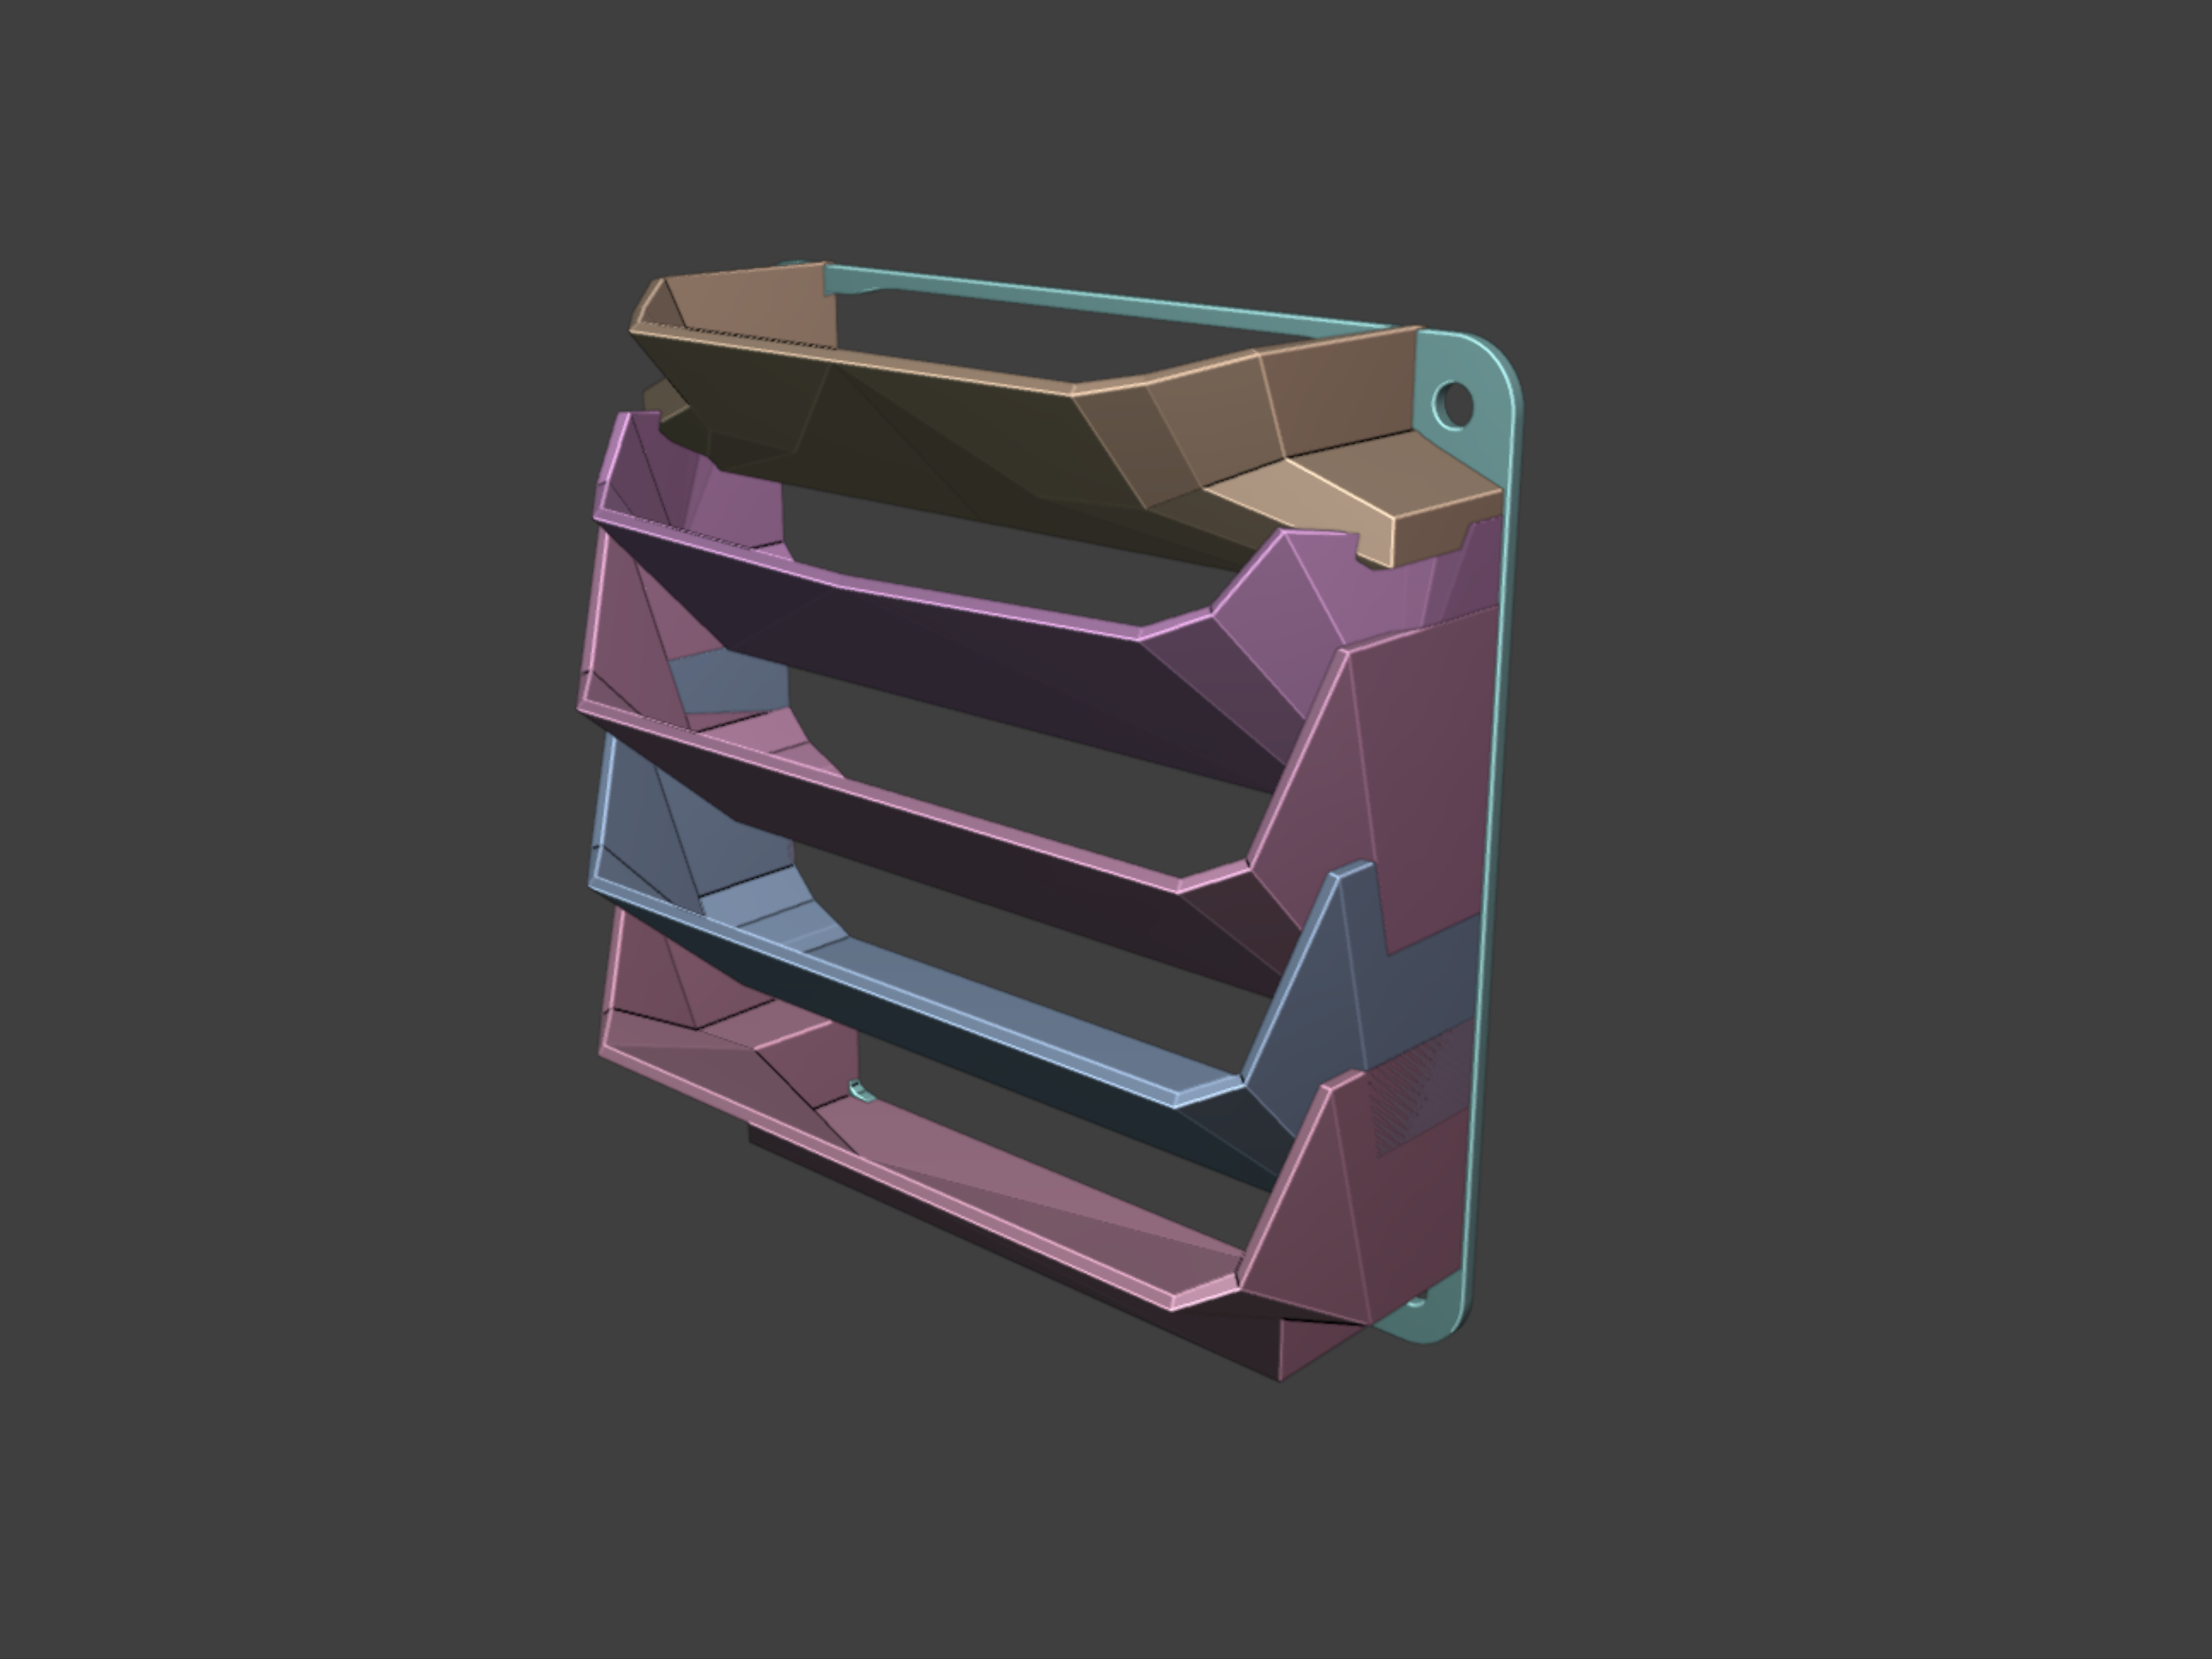
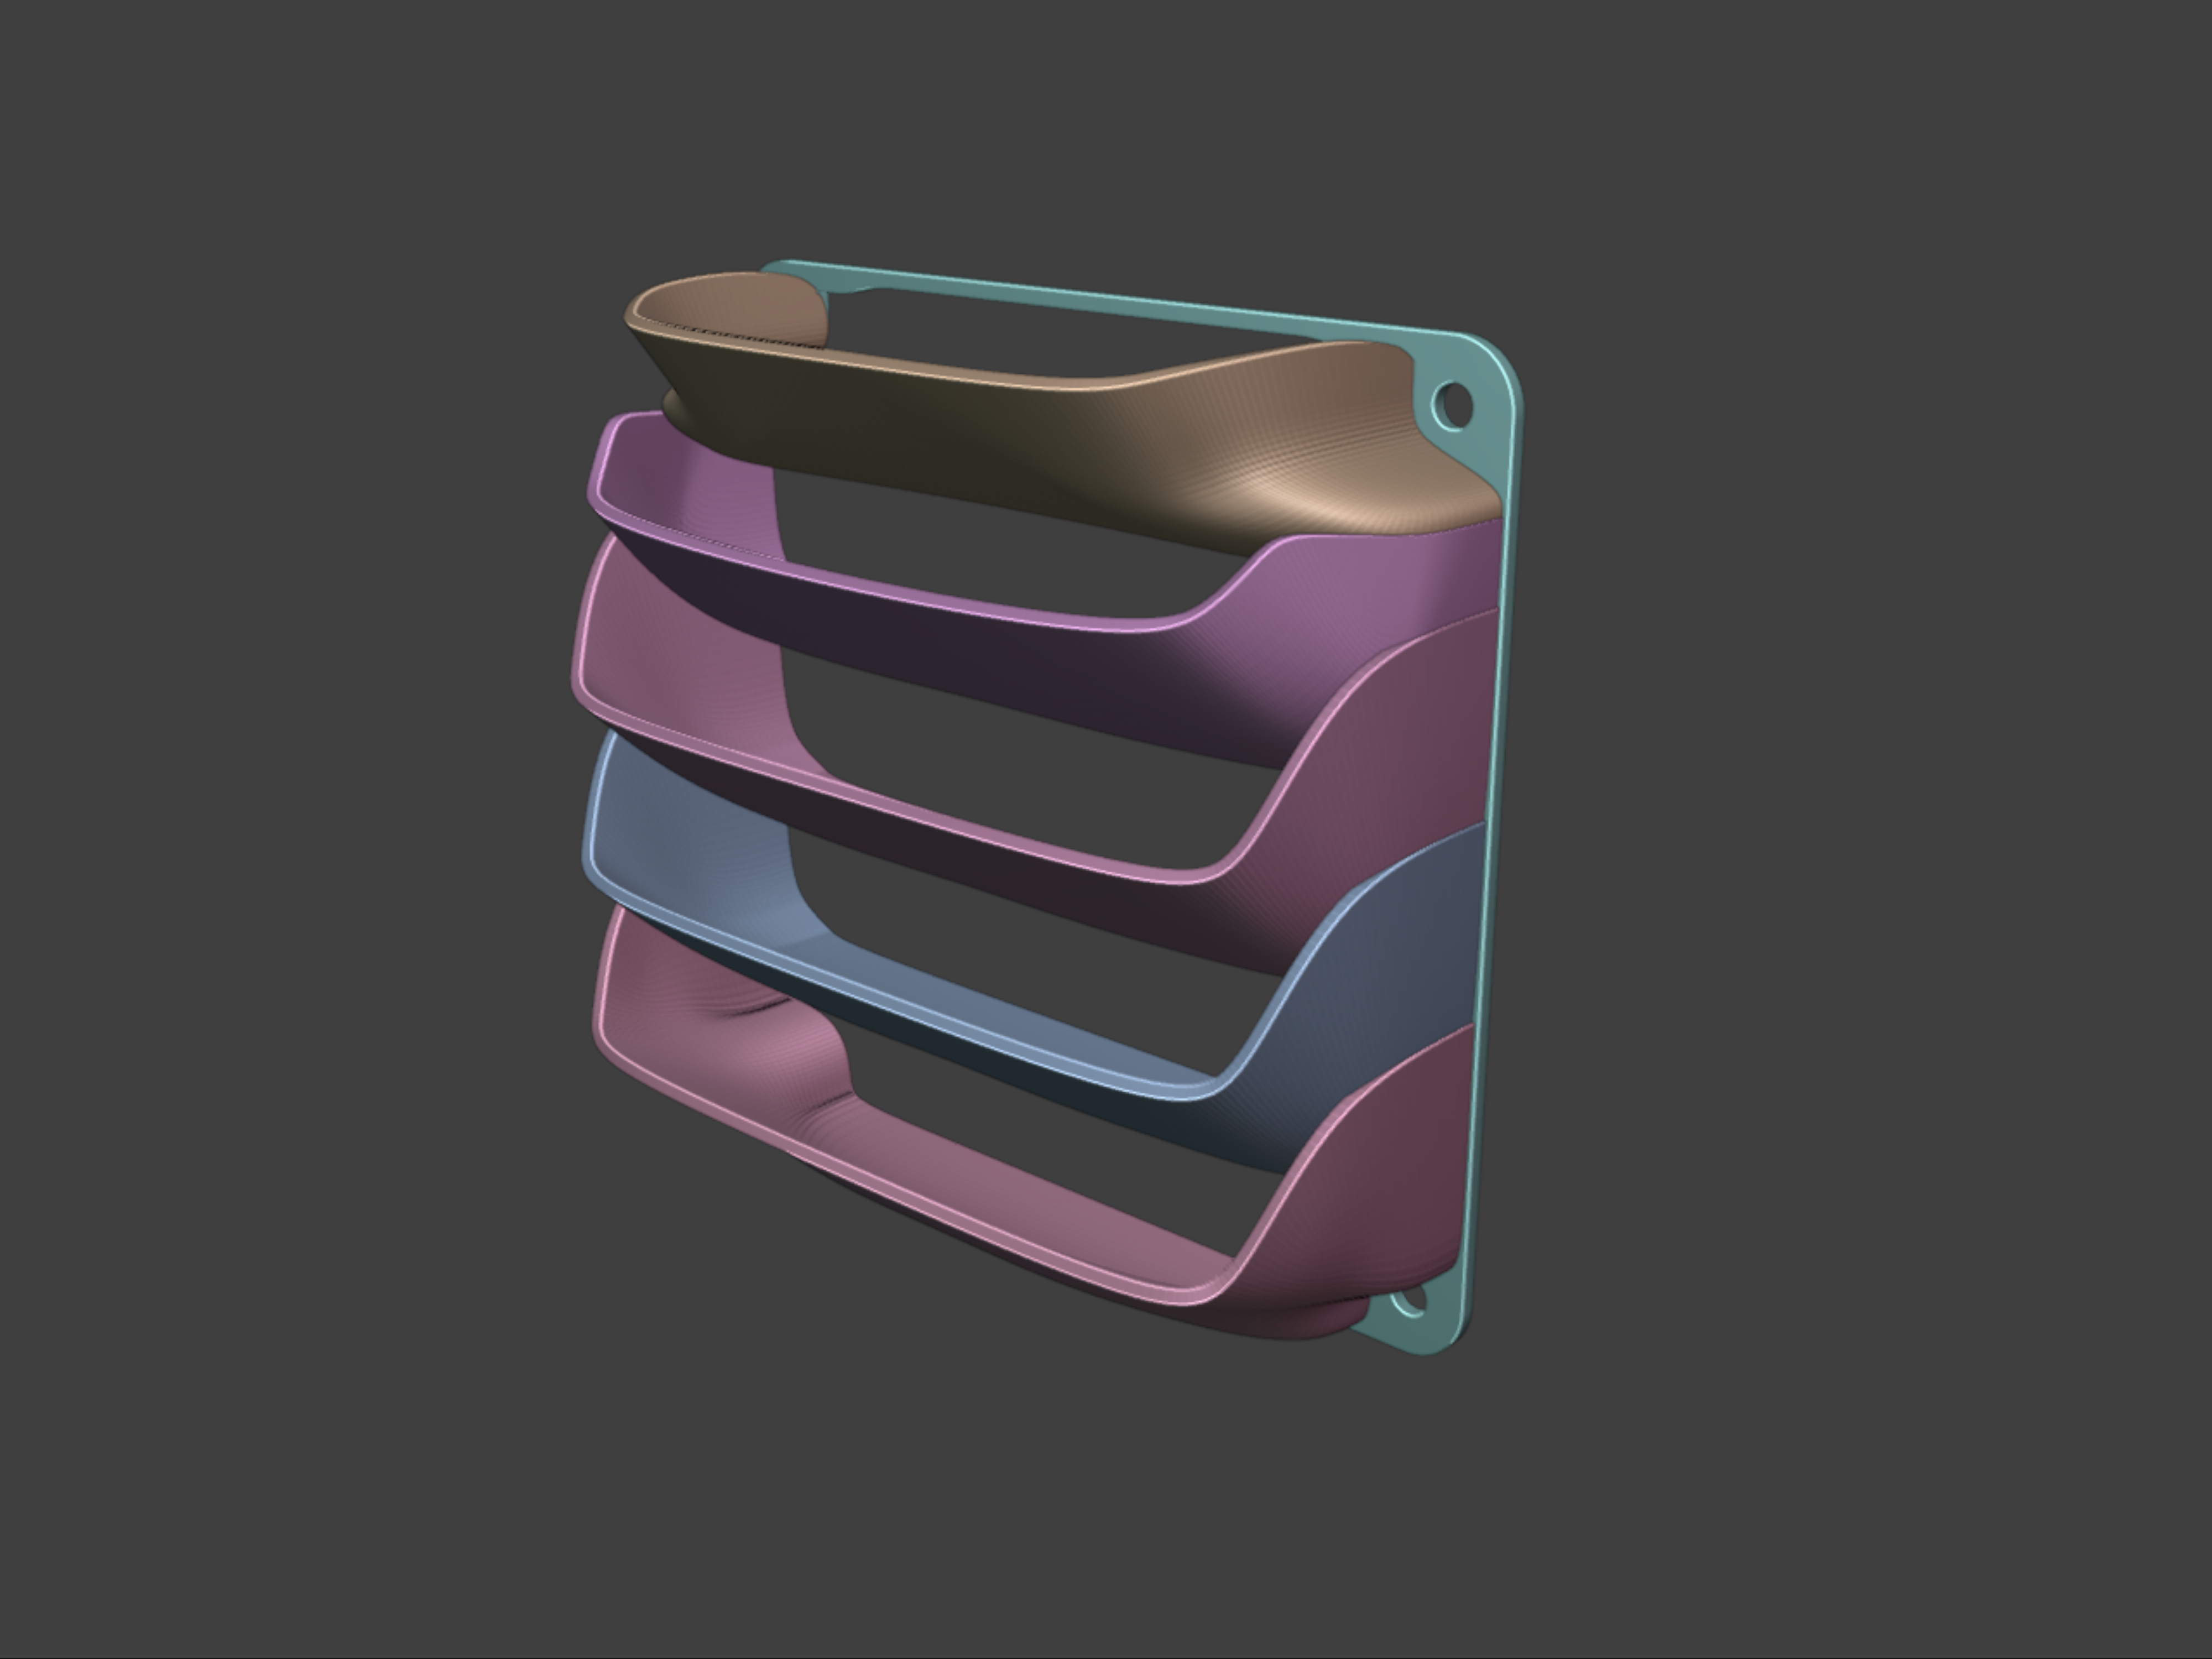
The first version of this that I created was 3D printed. I designed it in Blender as a simple block-out design and then applied a subdivision surface modifier to smooth it out. I took design inspiration from F1 front wings and their elegant multi-element designs.
Different Versions
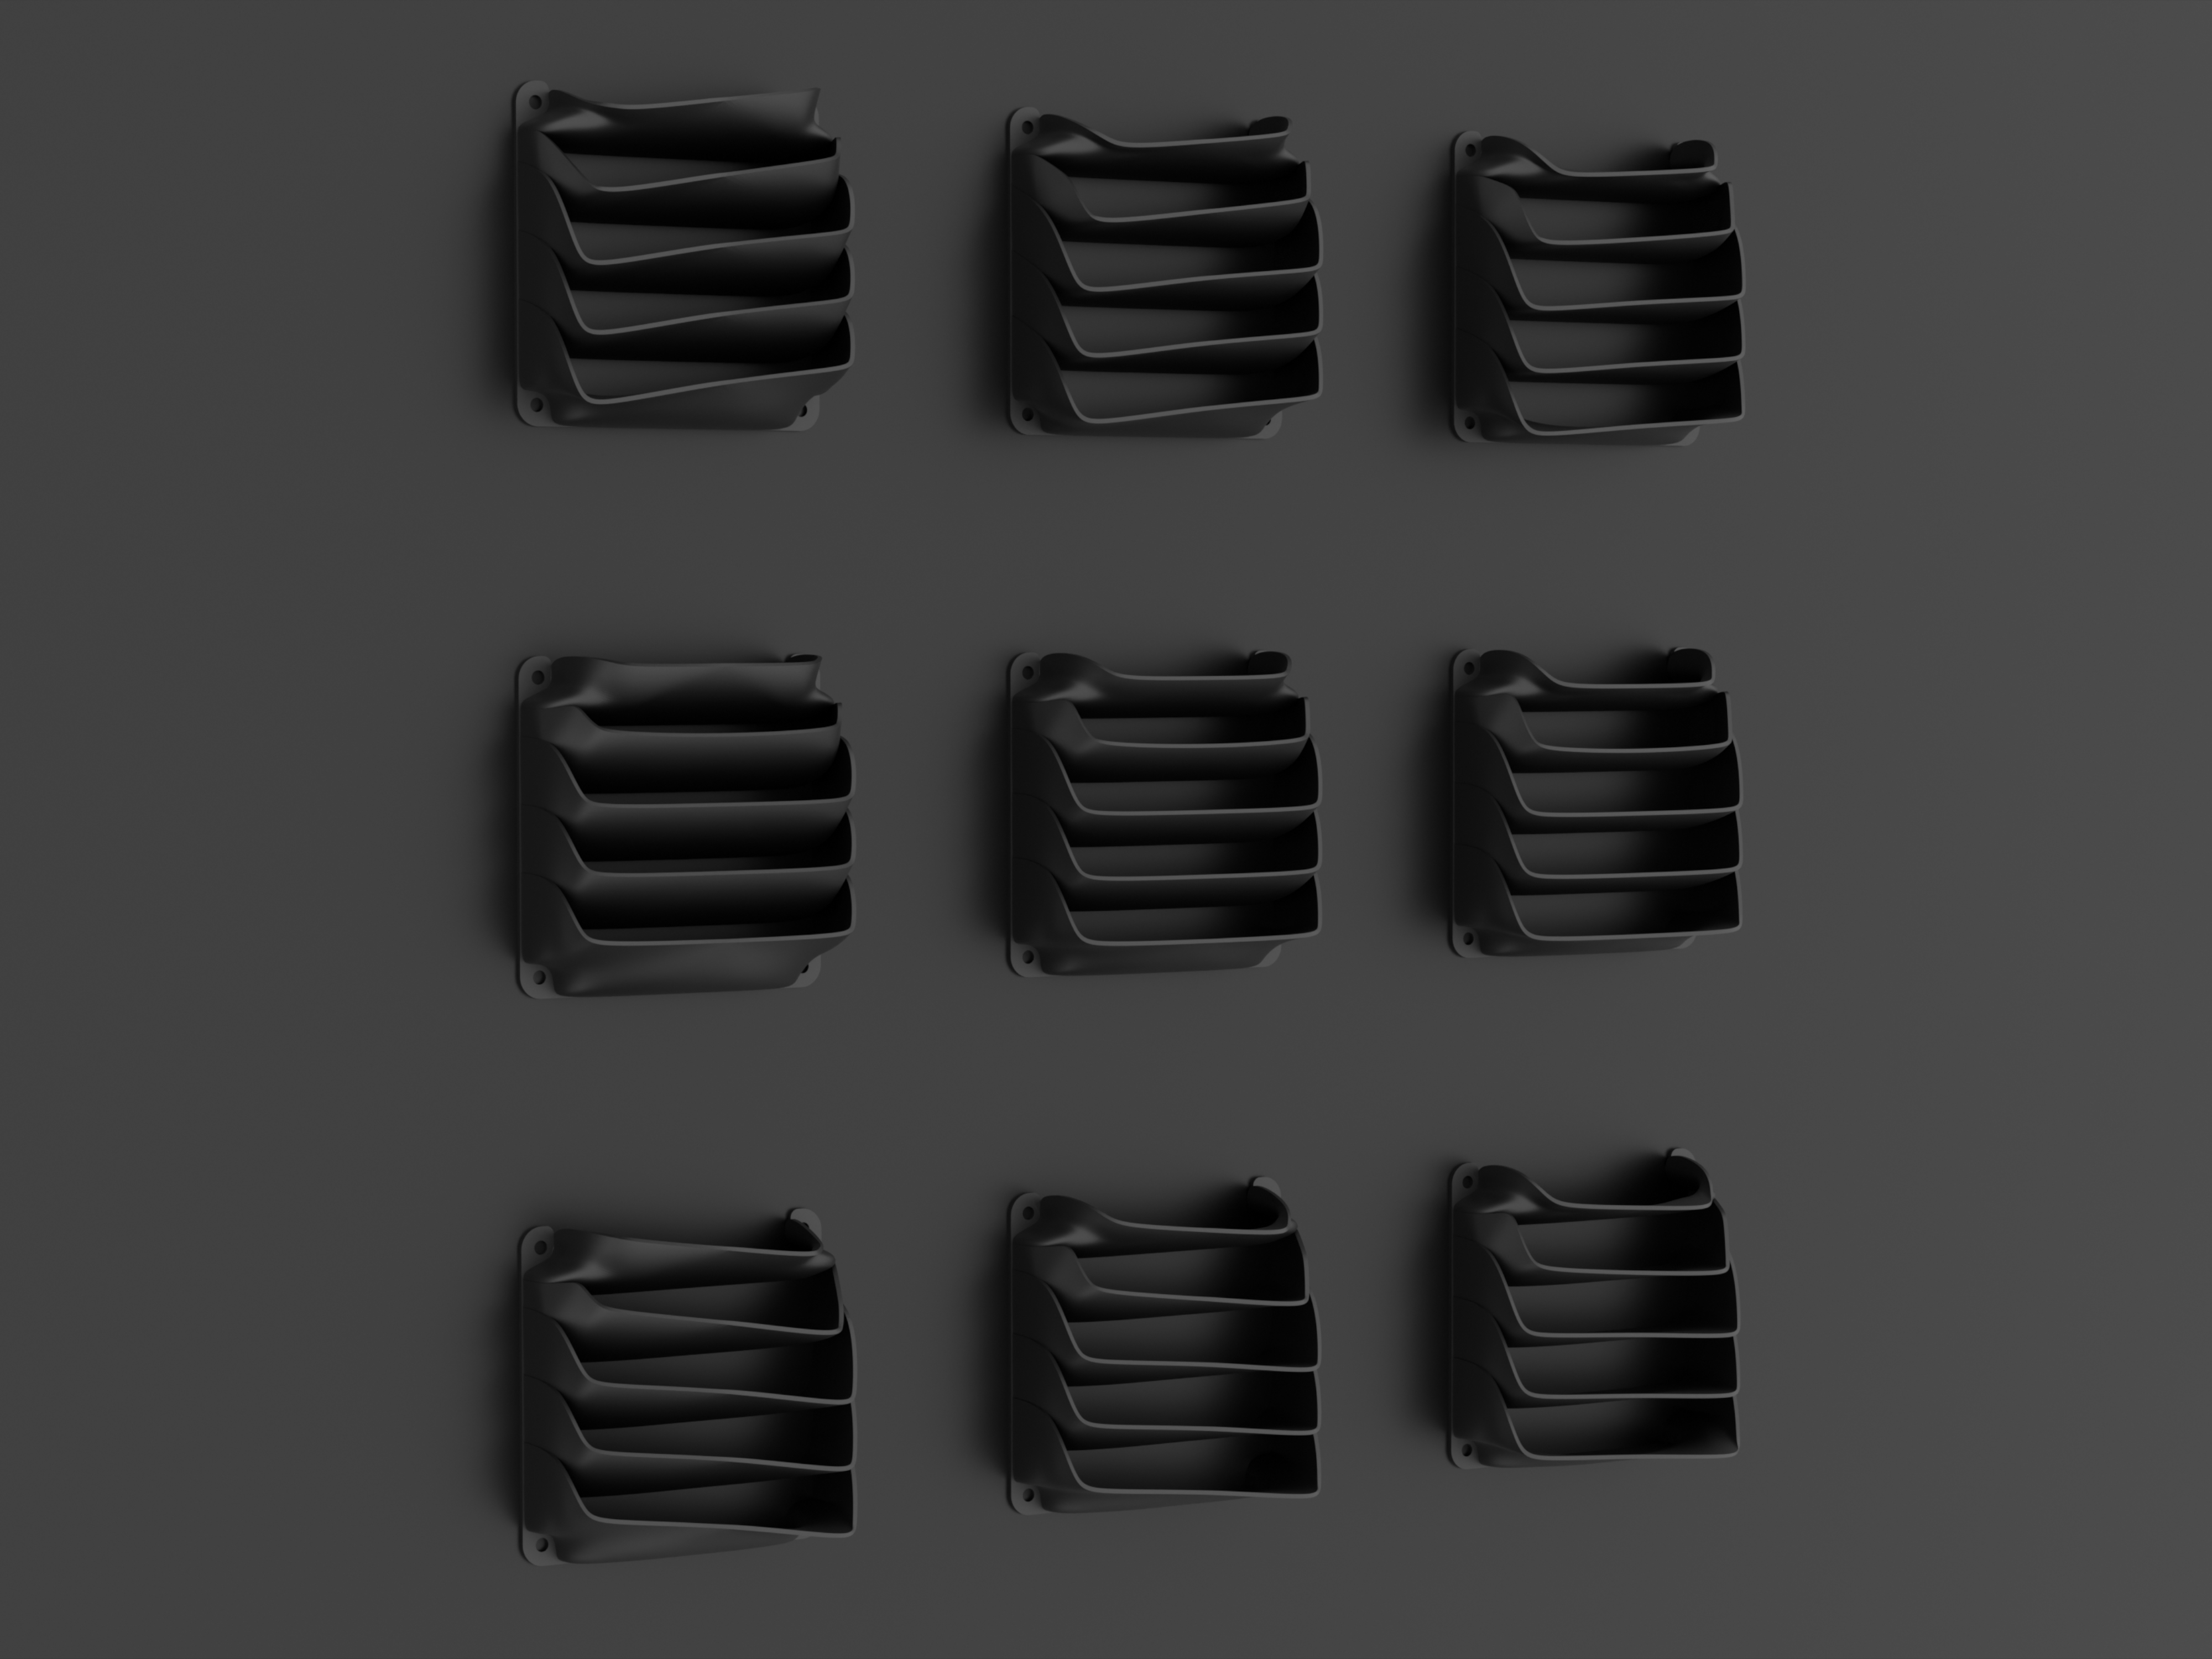
When I published this model online, in order to make it more versatile, I also created vents with 3 different levels of deflection as well as versions that direct the air towards the left and right.
Testing
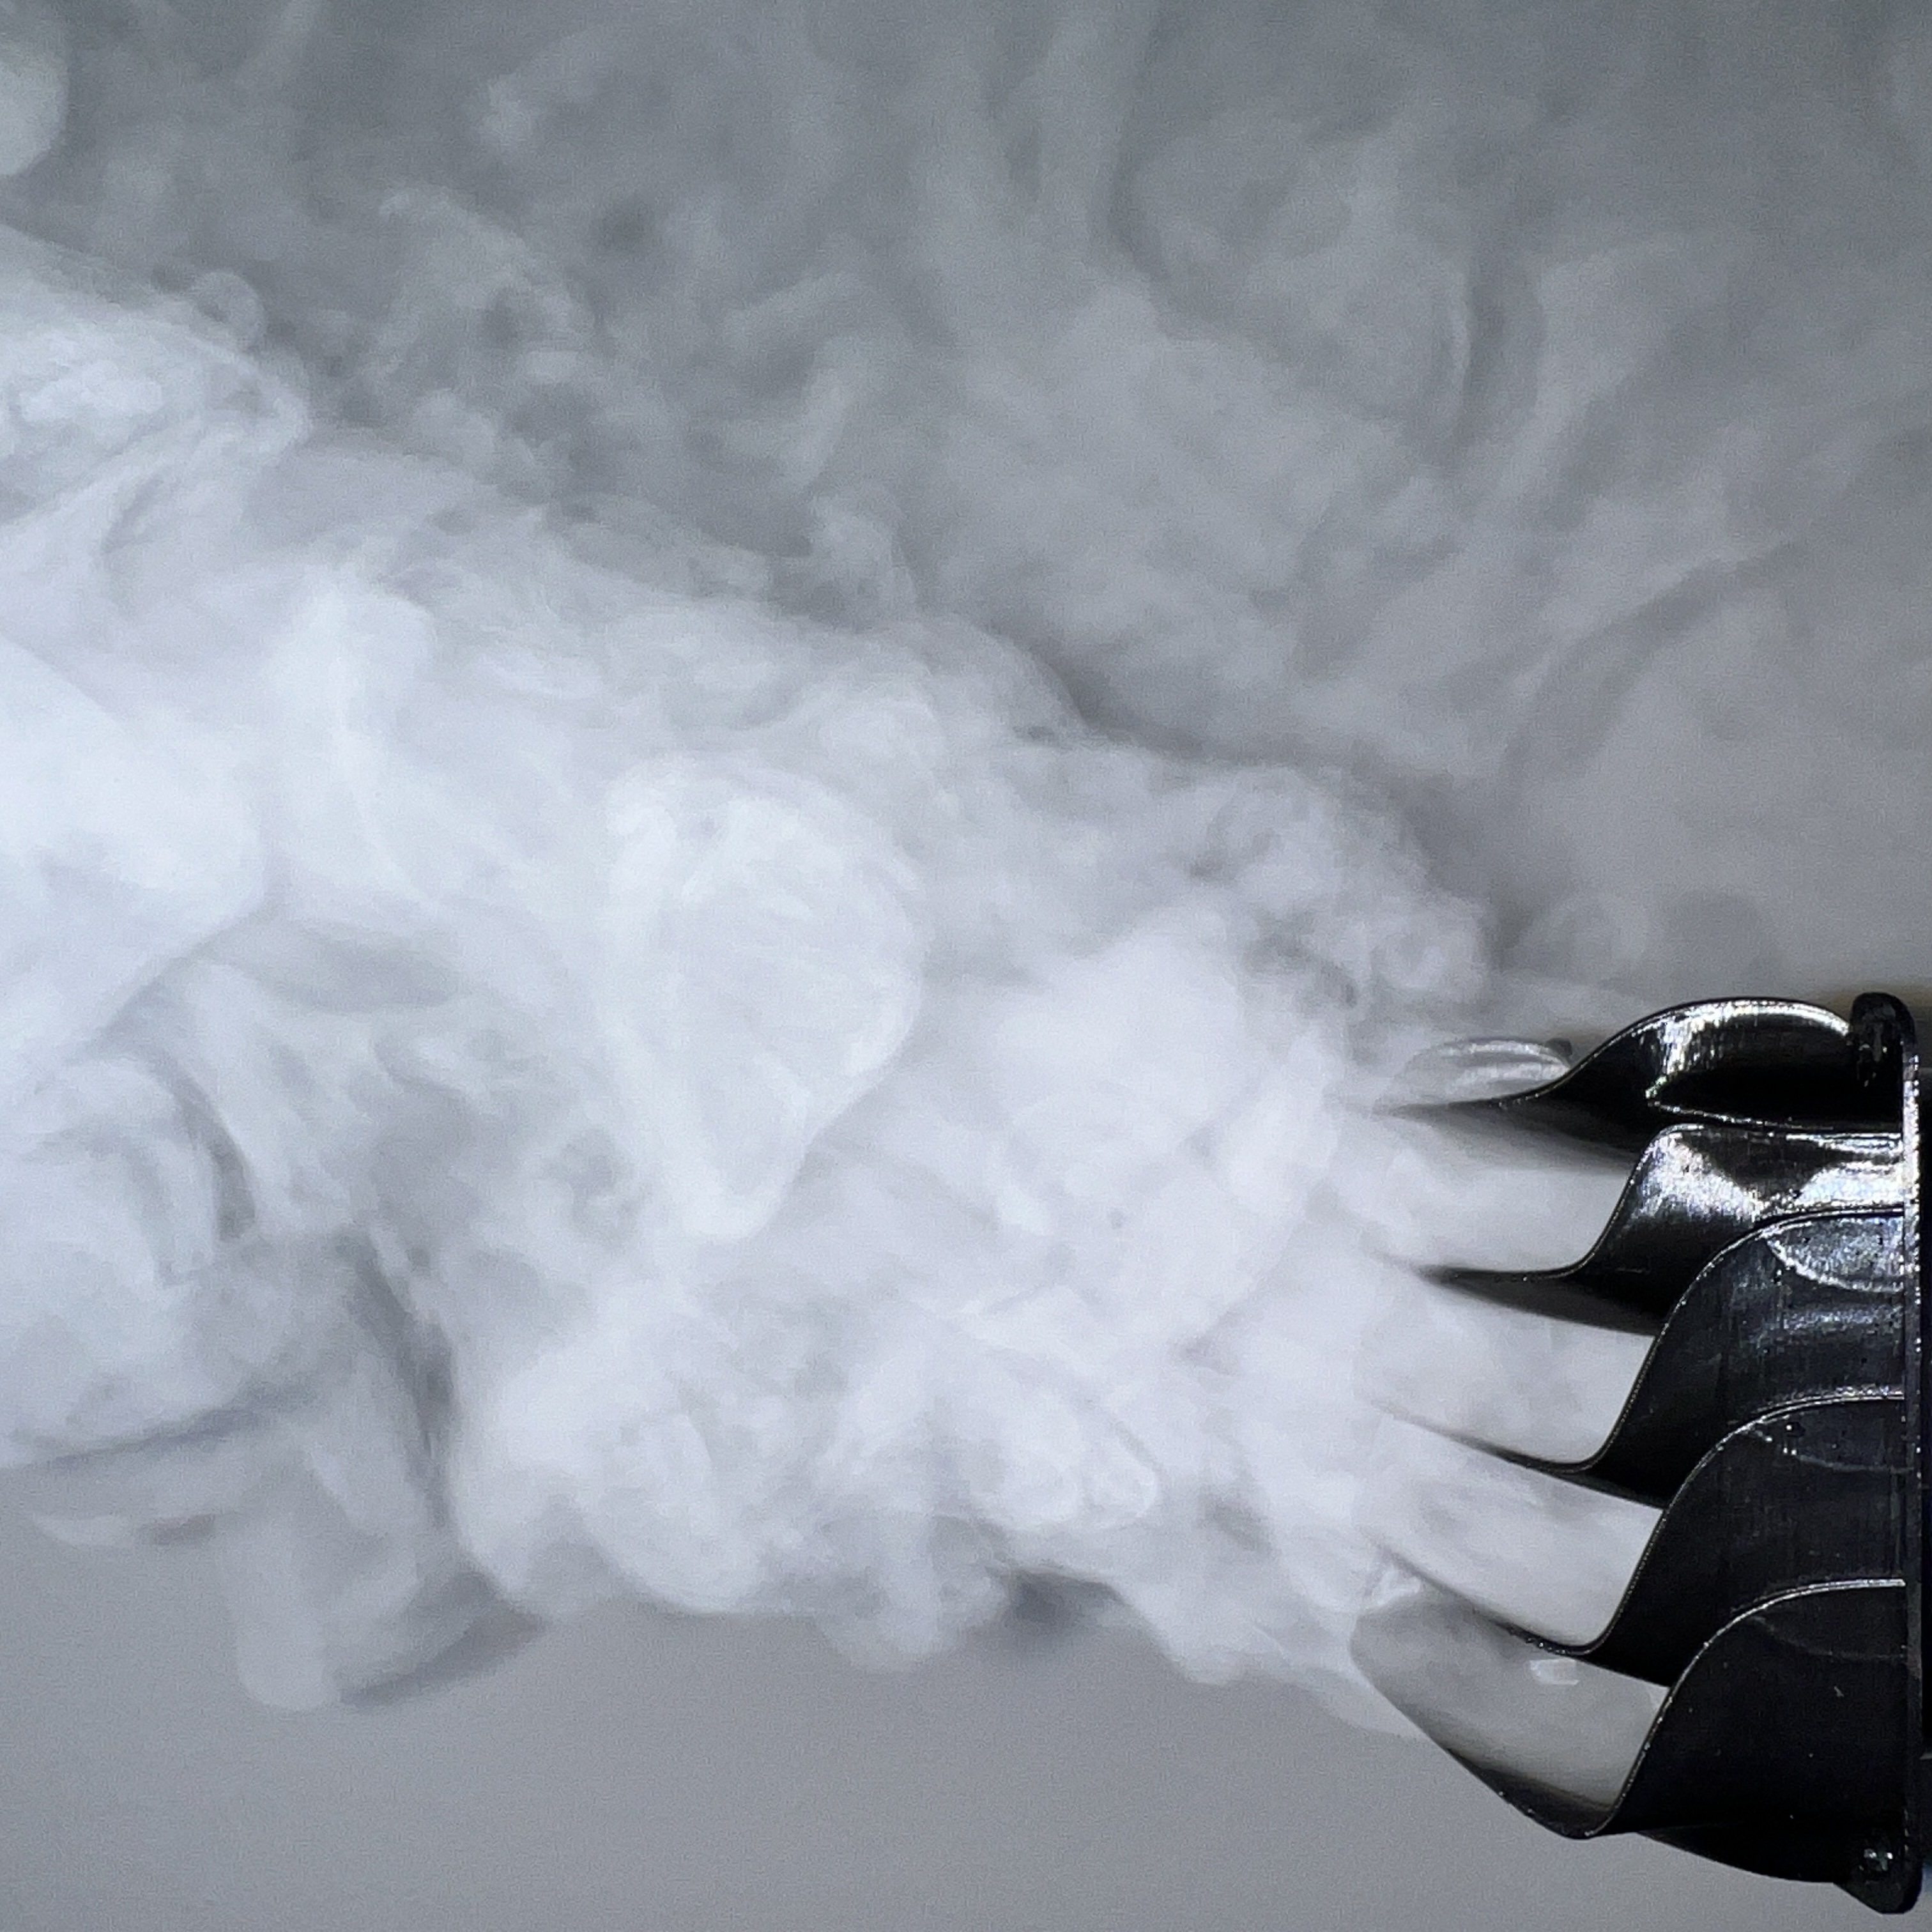
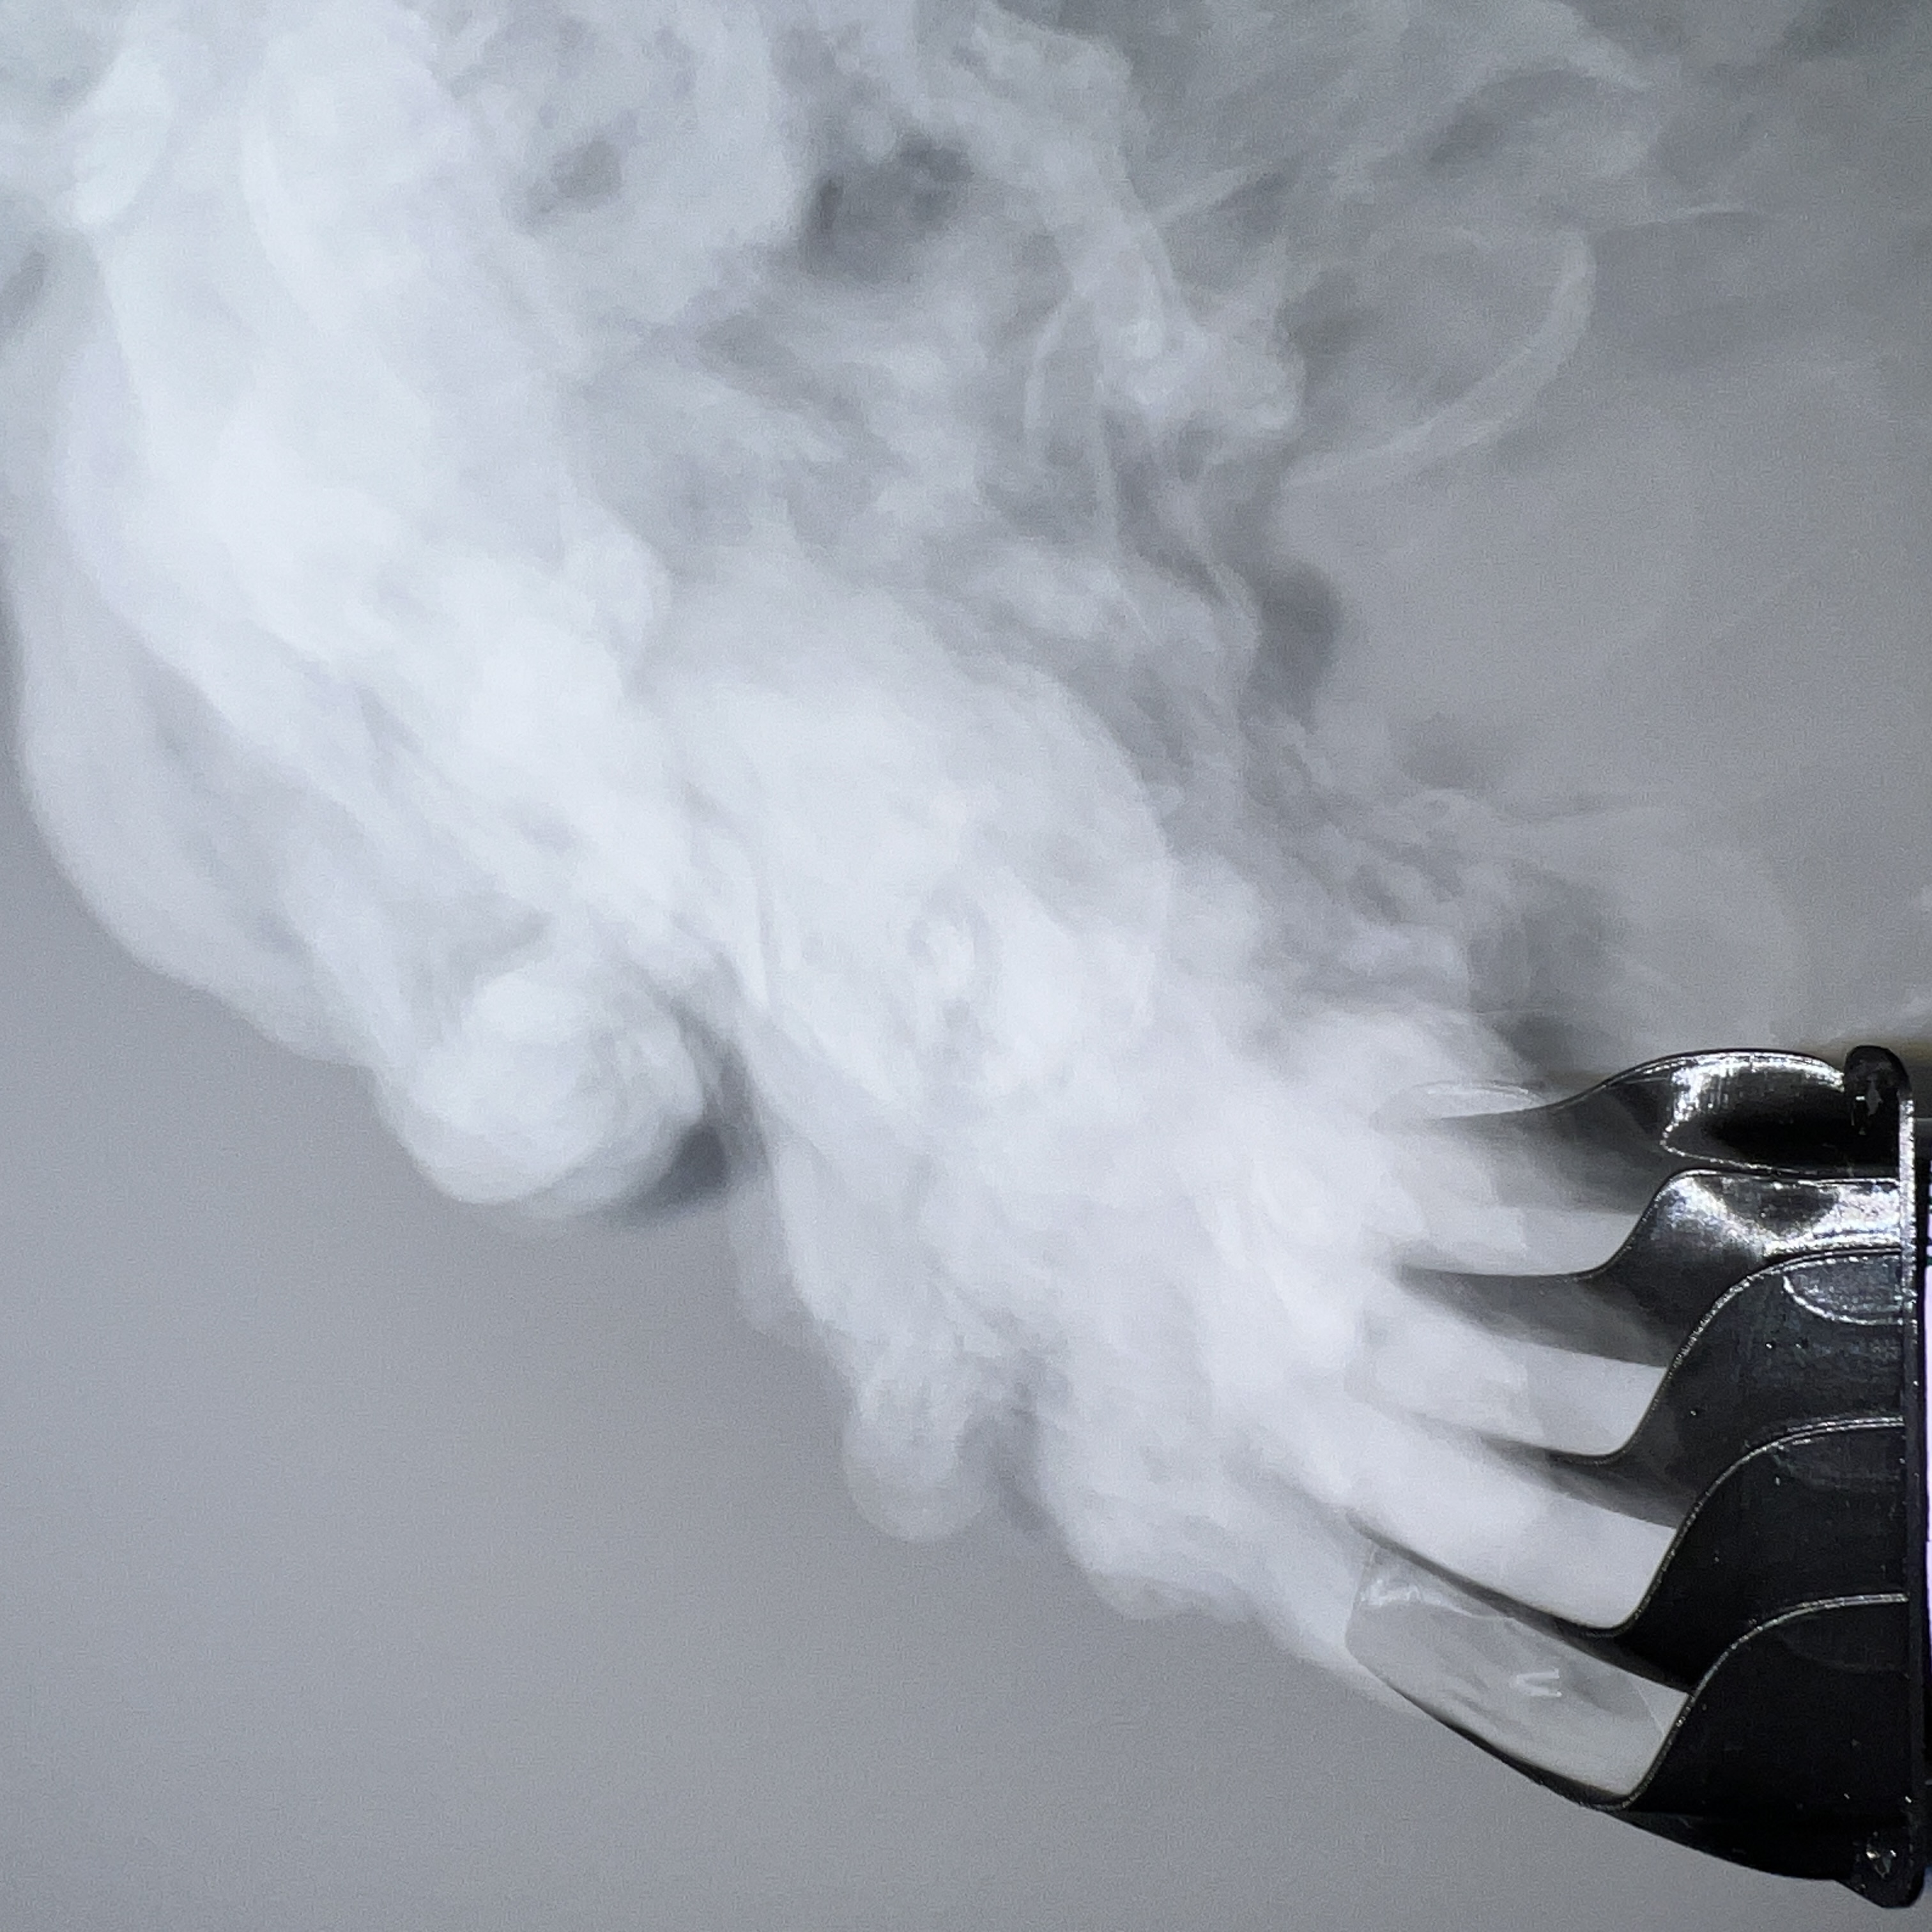
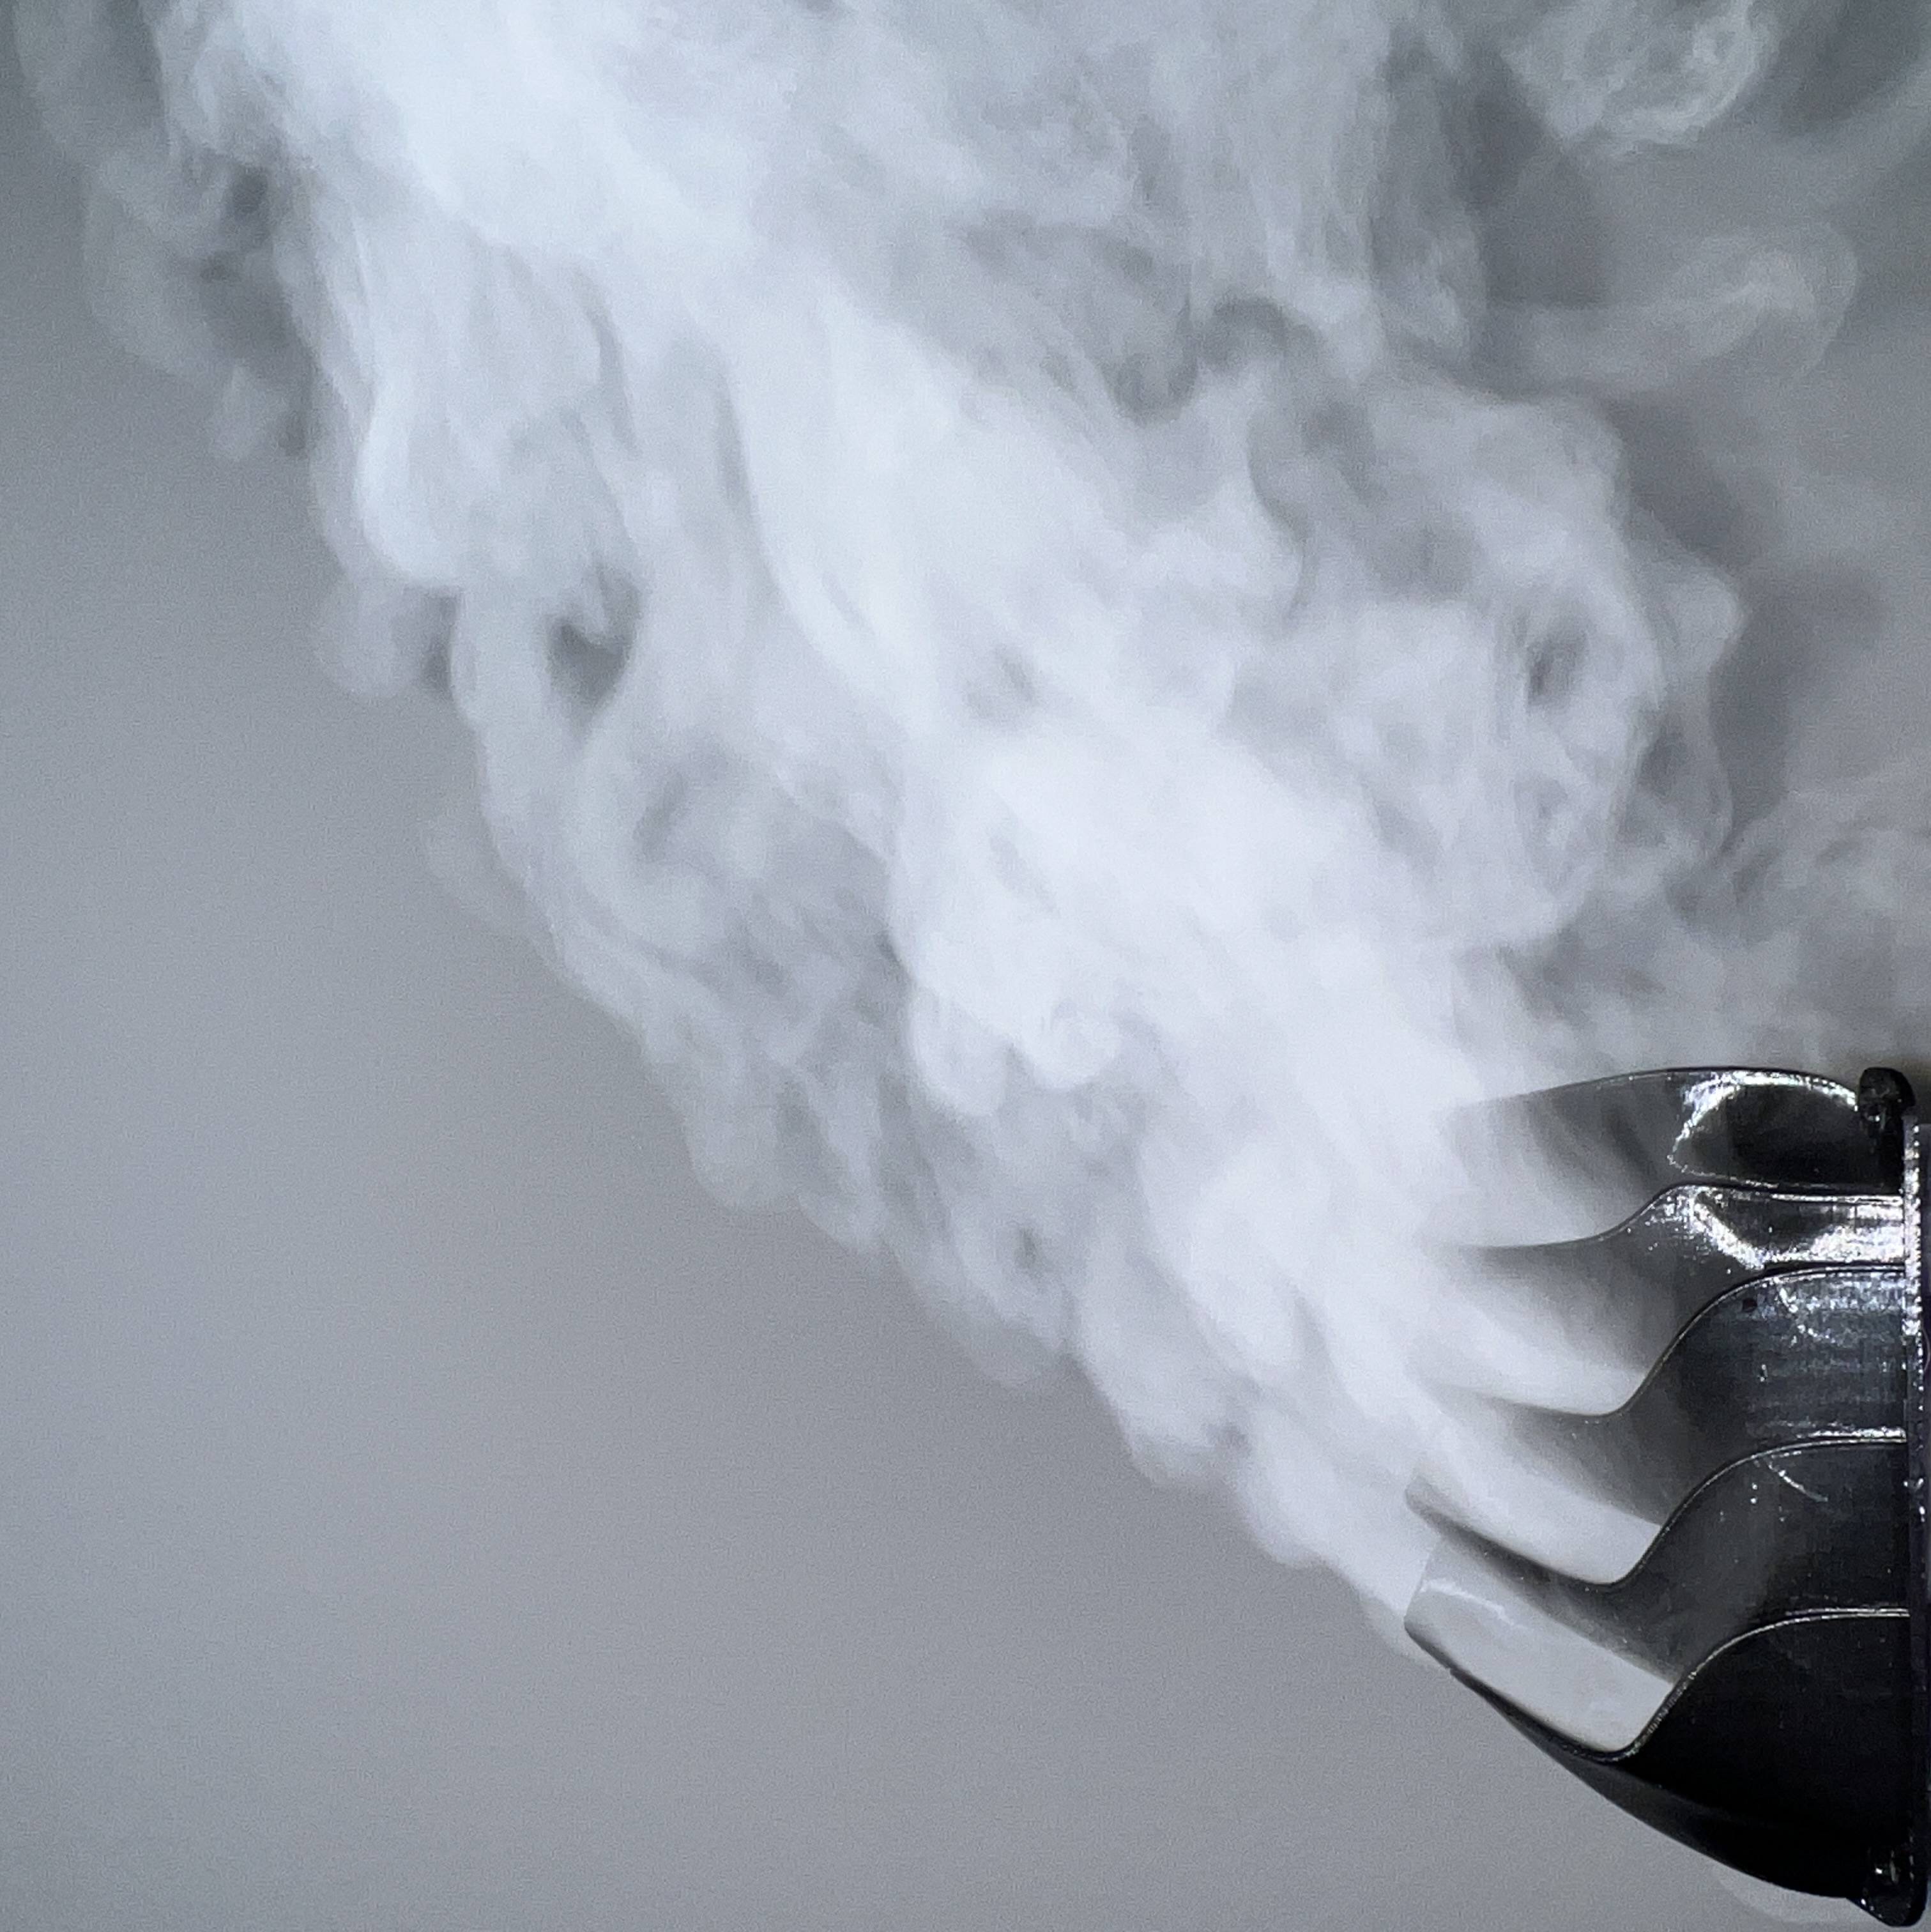
Since I only used the highest deflection variant, which I originally designed, and eyeballed the angles for the two other versions, I decided to print miniature versions of each version (to save filament) and test them using the vapor from a humidifier.
Carbon Fiber
I started learning how to make carbon fiber parts during the summer of 2026 and thought this fan vent would be an interesting challenge. Up to that point, I had only created simple and boxy objects that were made up of one single piece. For this, however, I had to make each element individually and combine them into one.
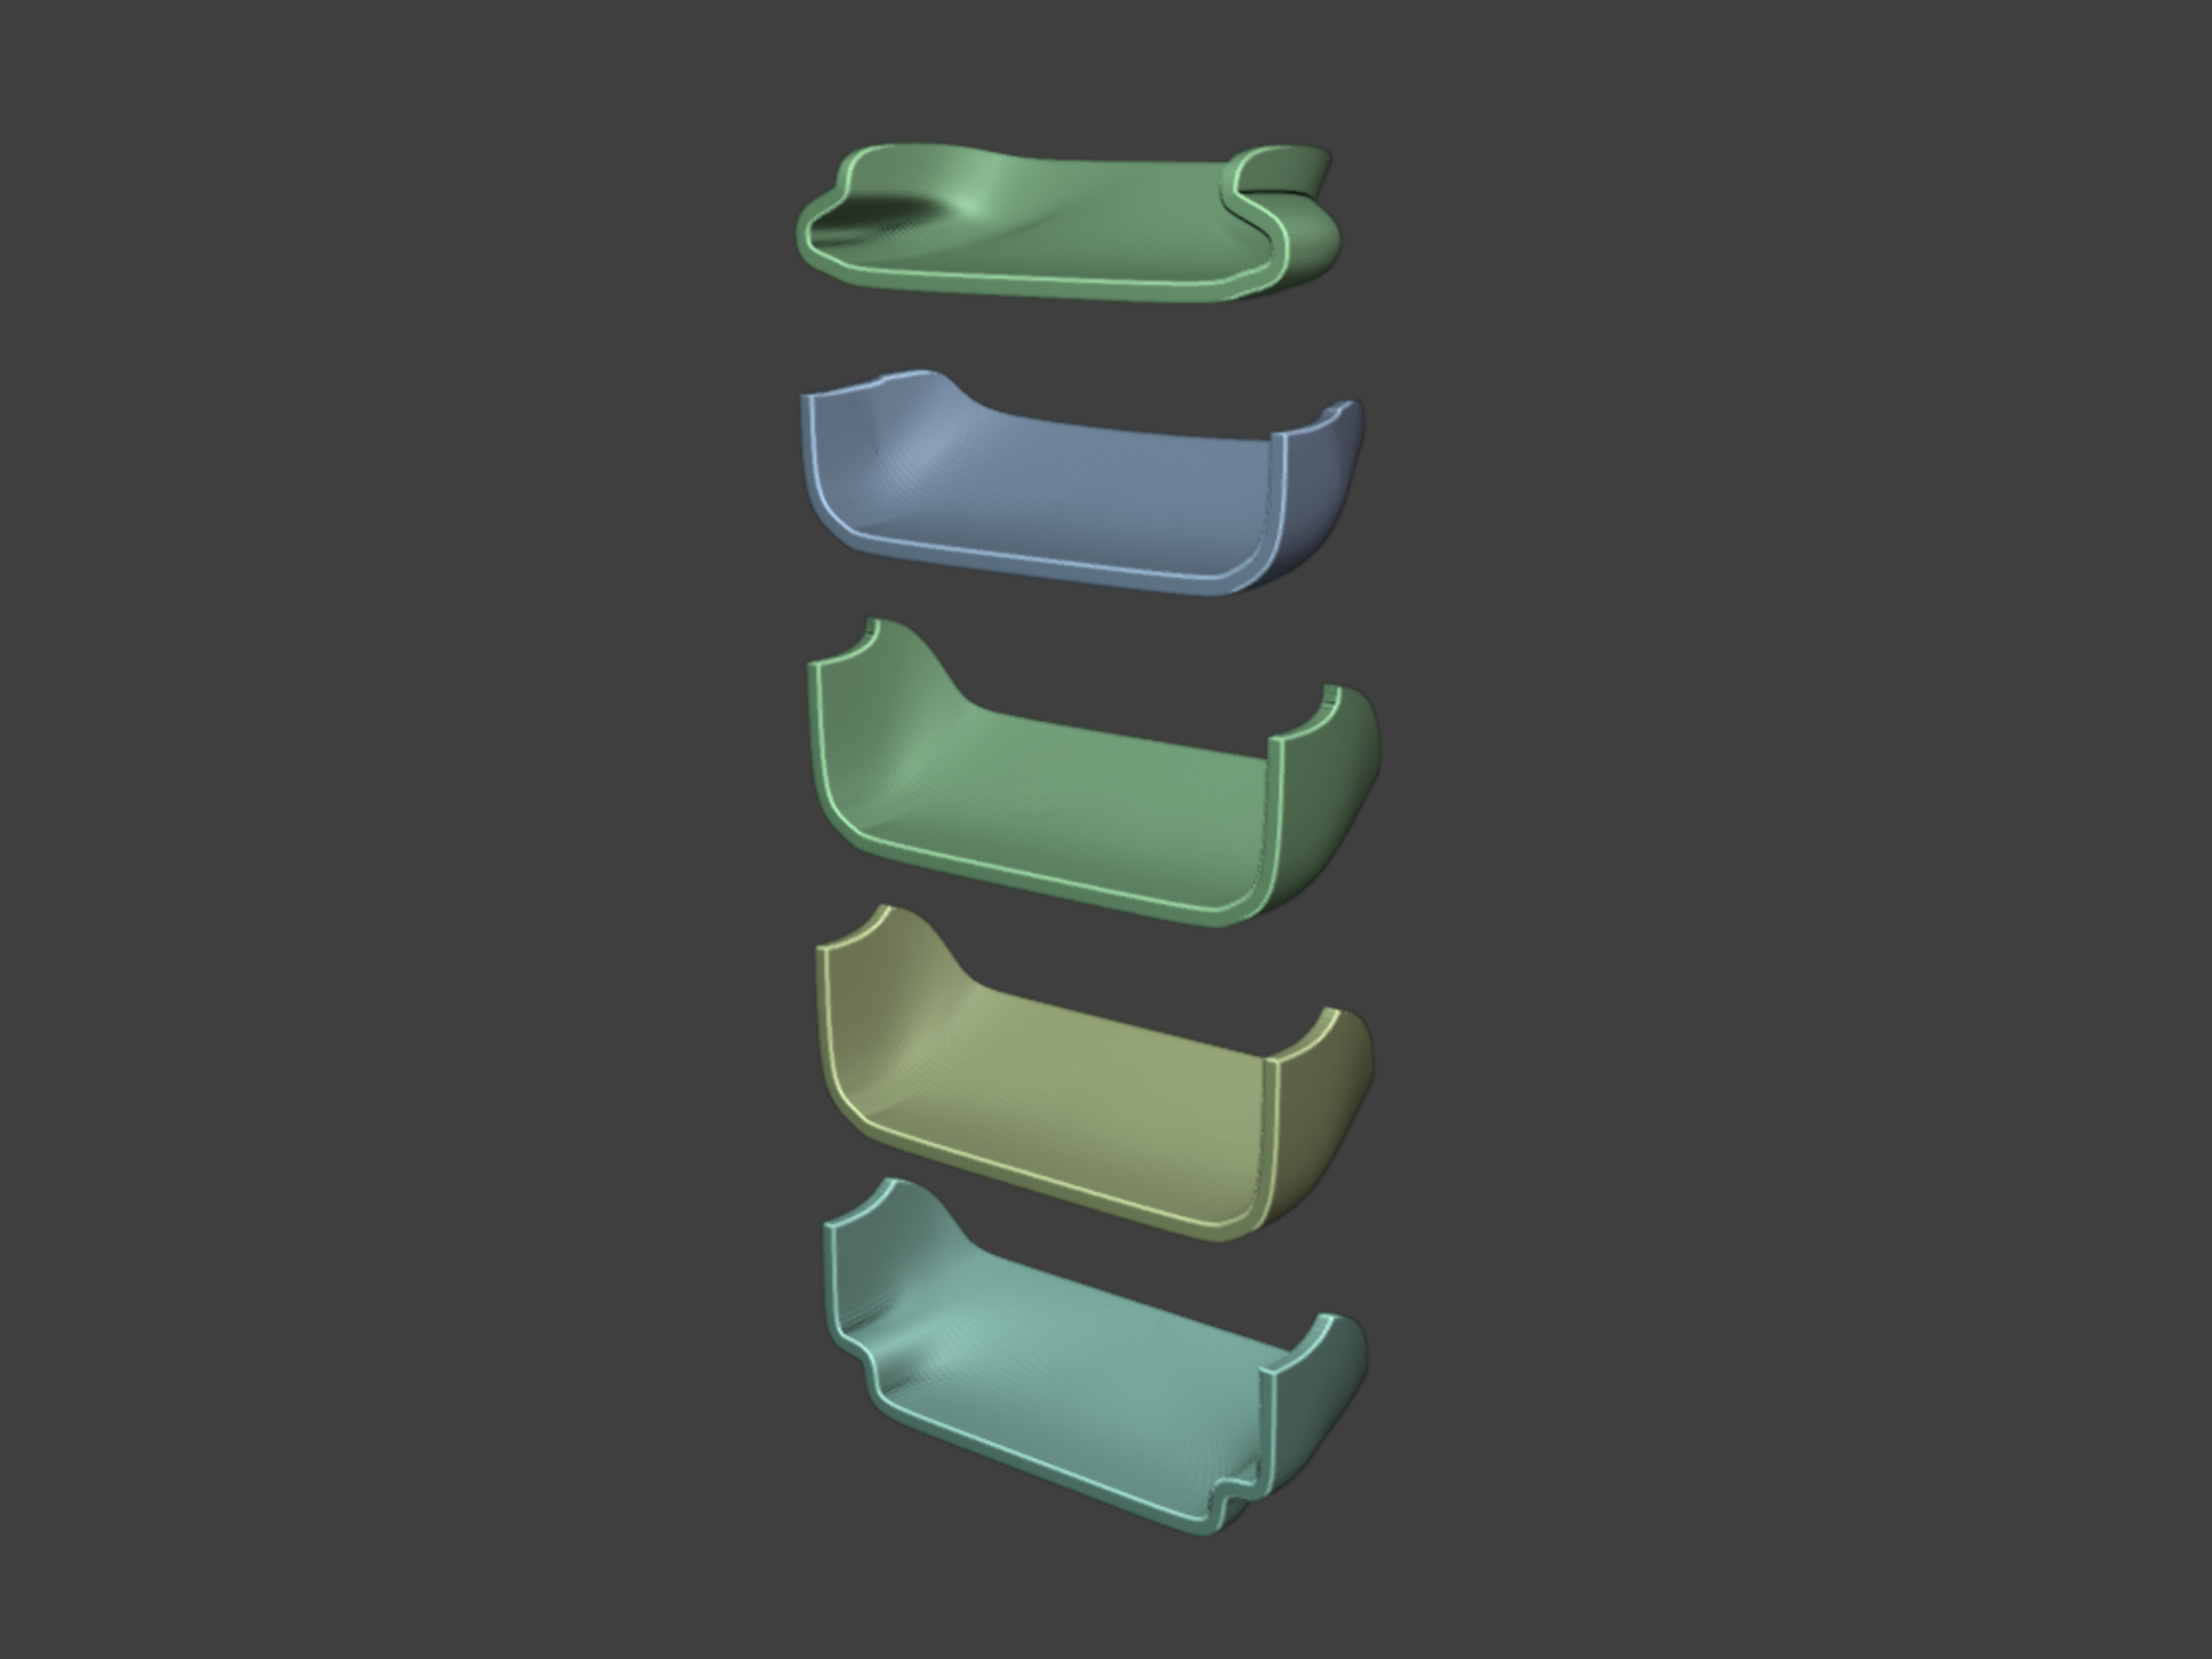
First, I designed molds for the carbon fiber lay in Blender using negatives of each element and printed them out in Bambu PLA Tough+ with a thickness of 3.5mm.
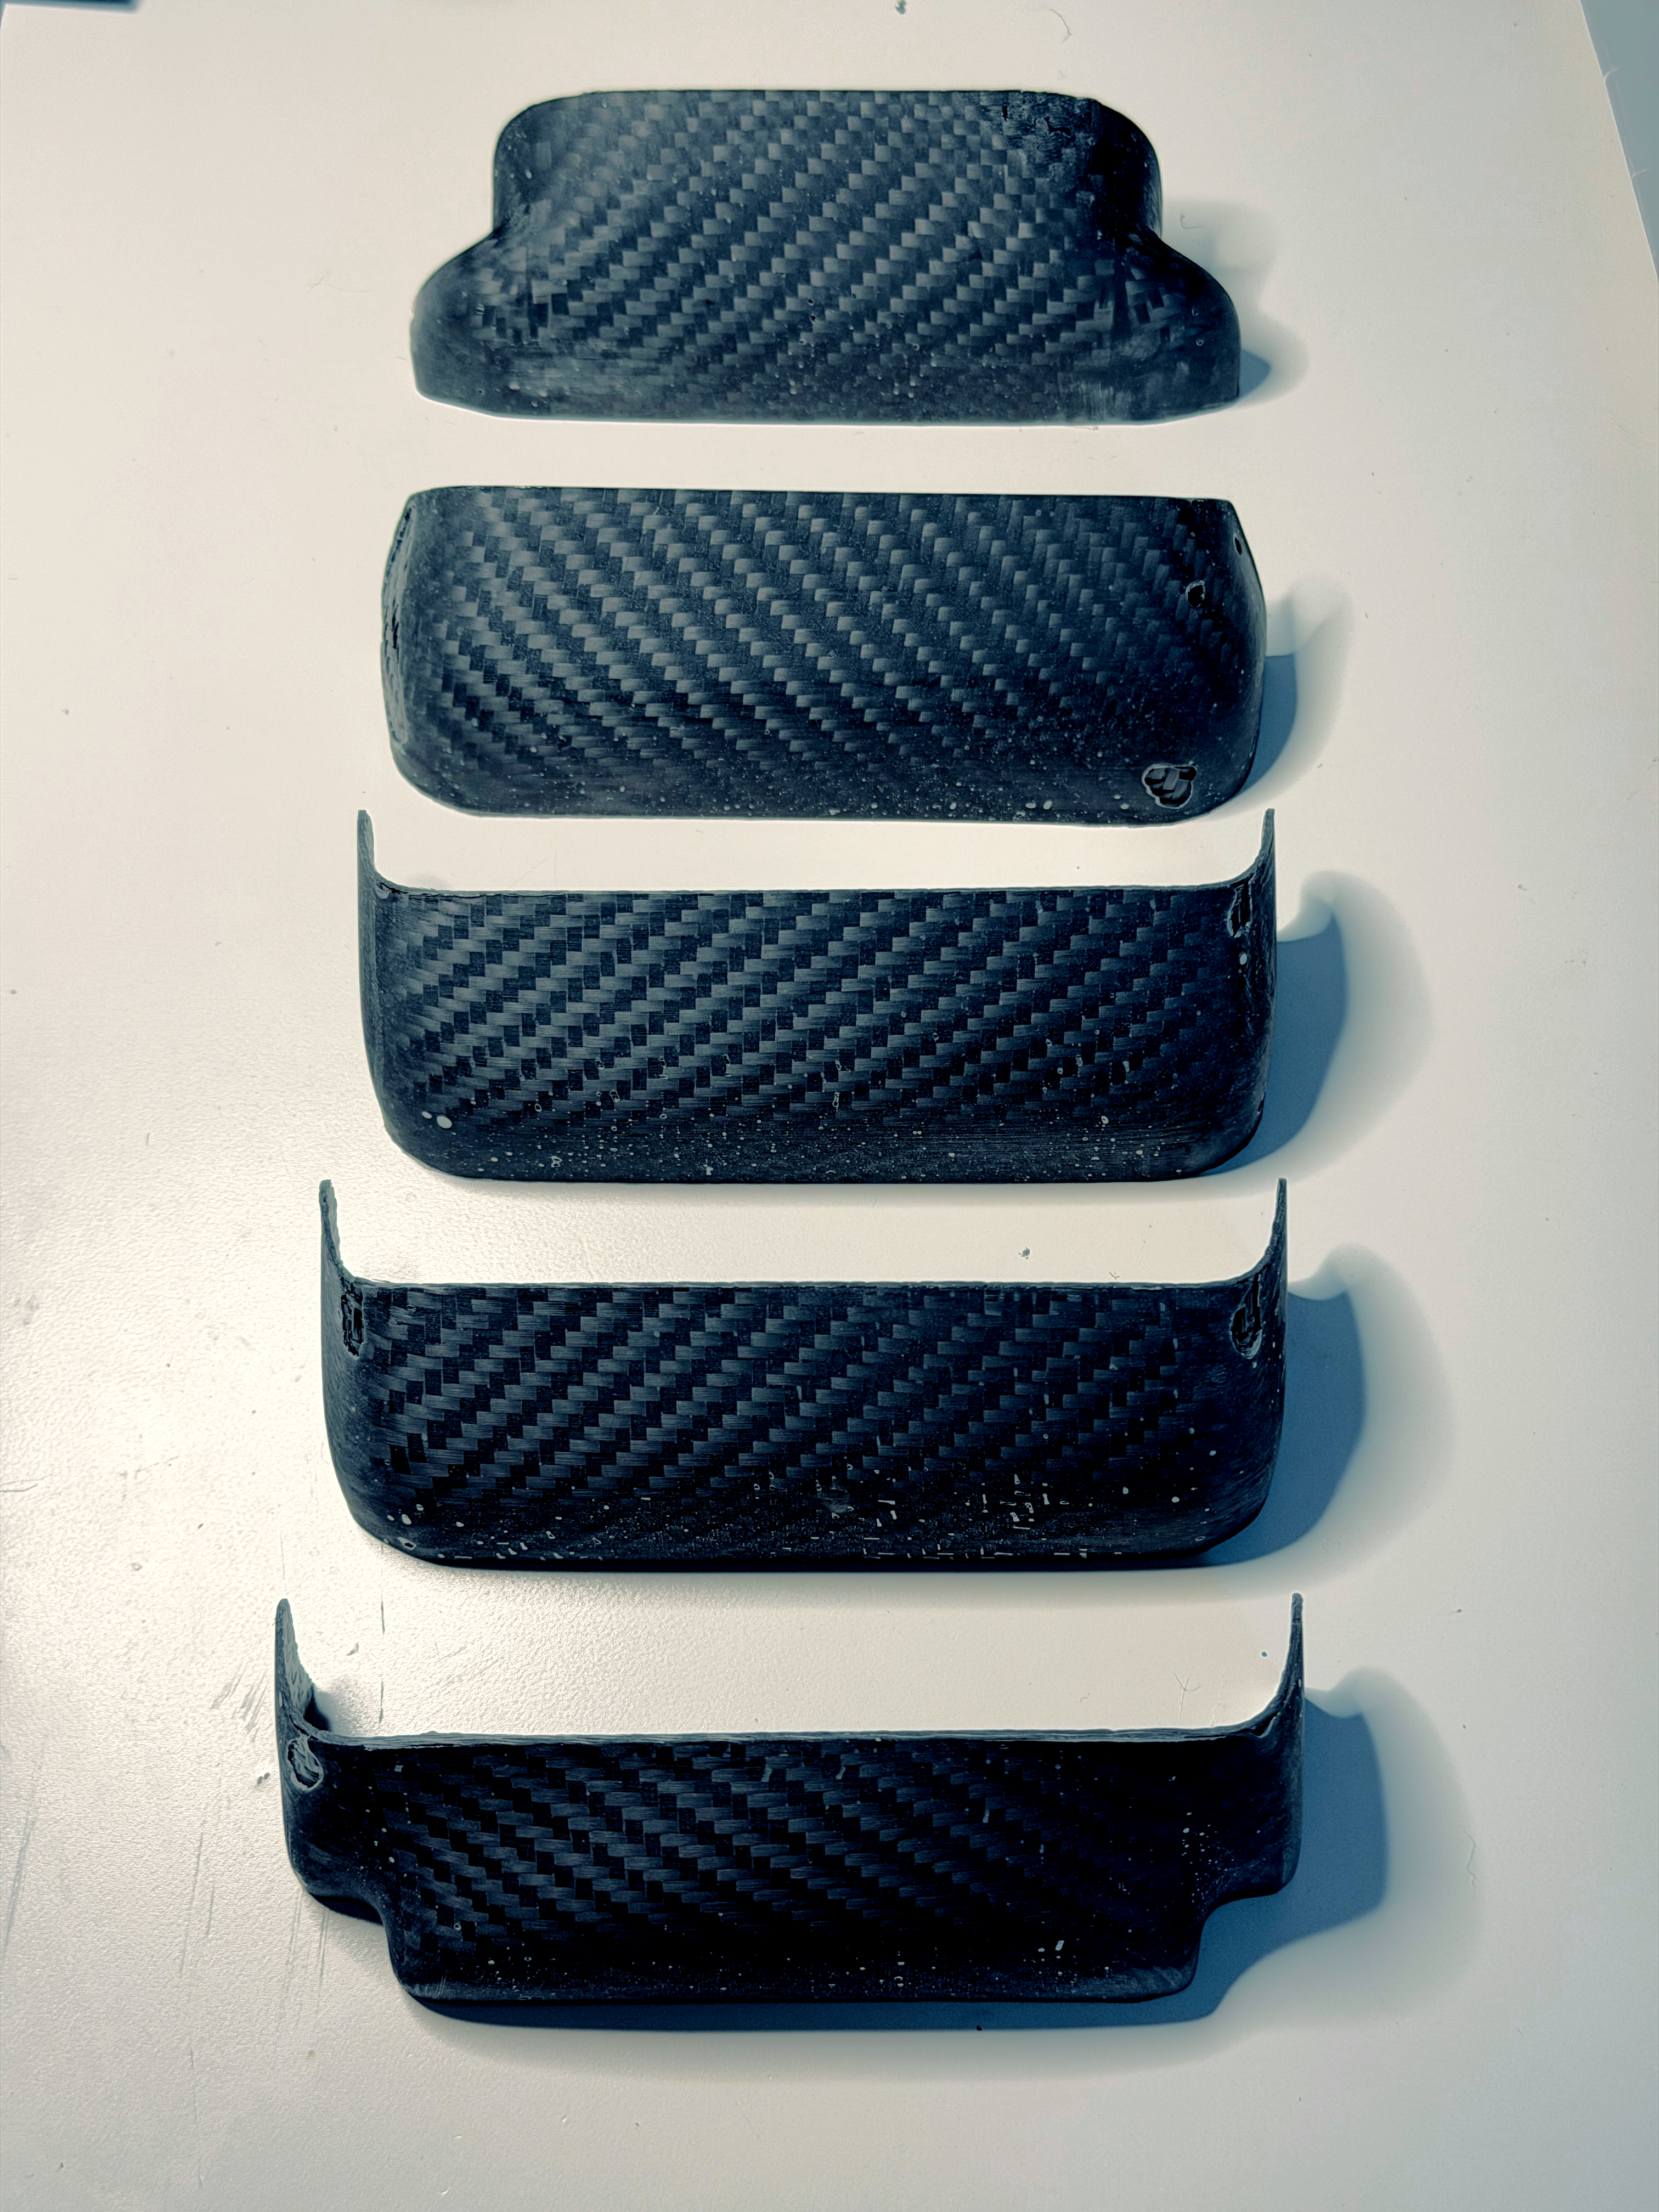
I then laid the carbon fiber in the molds. For the top and bottom elements, because of the curvature needed for where the mounting screws go, I laid them in 3 separate pieces per layer, and used 3 layers for all of the elements.
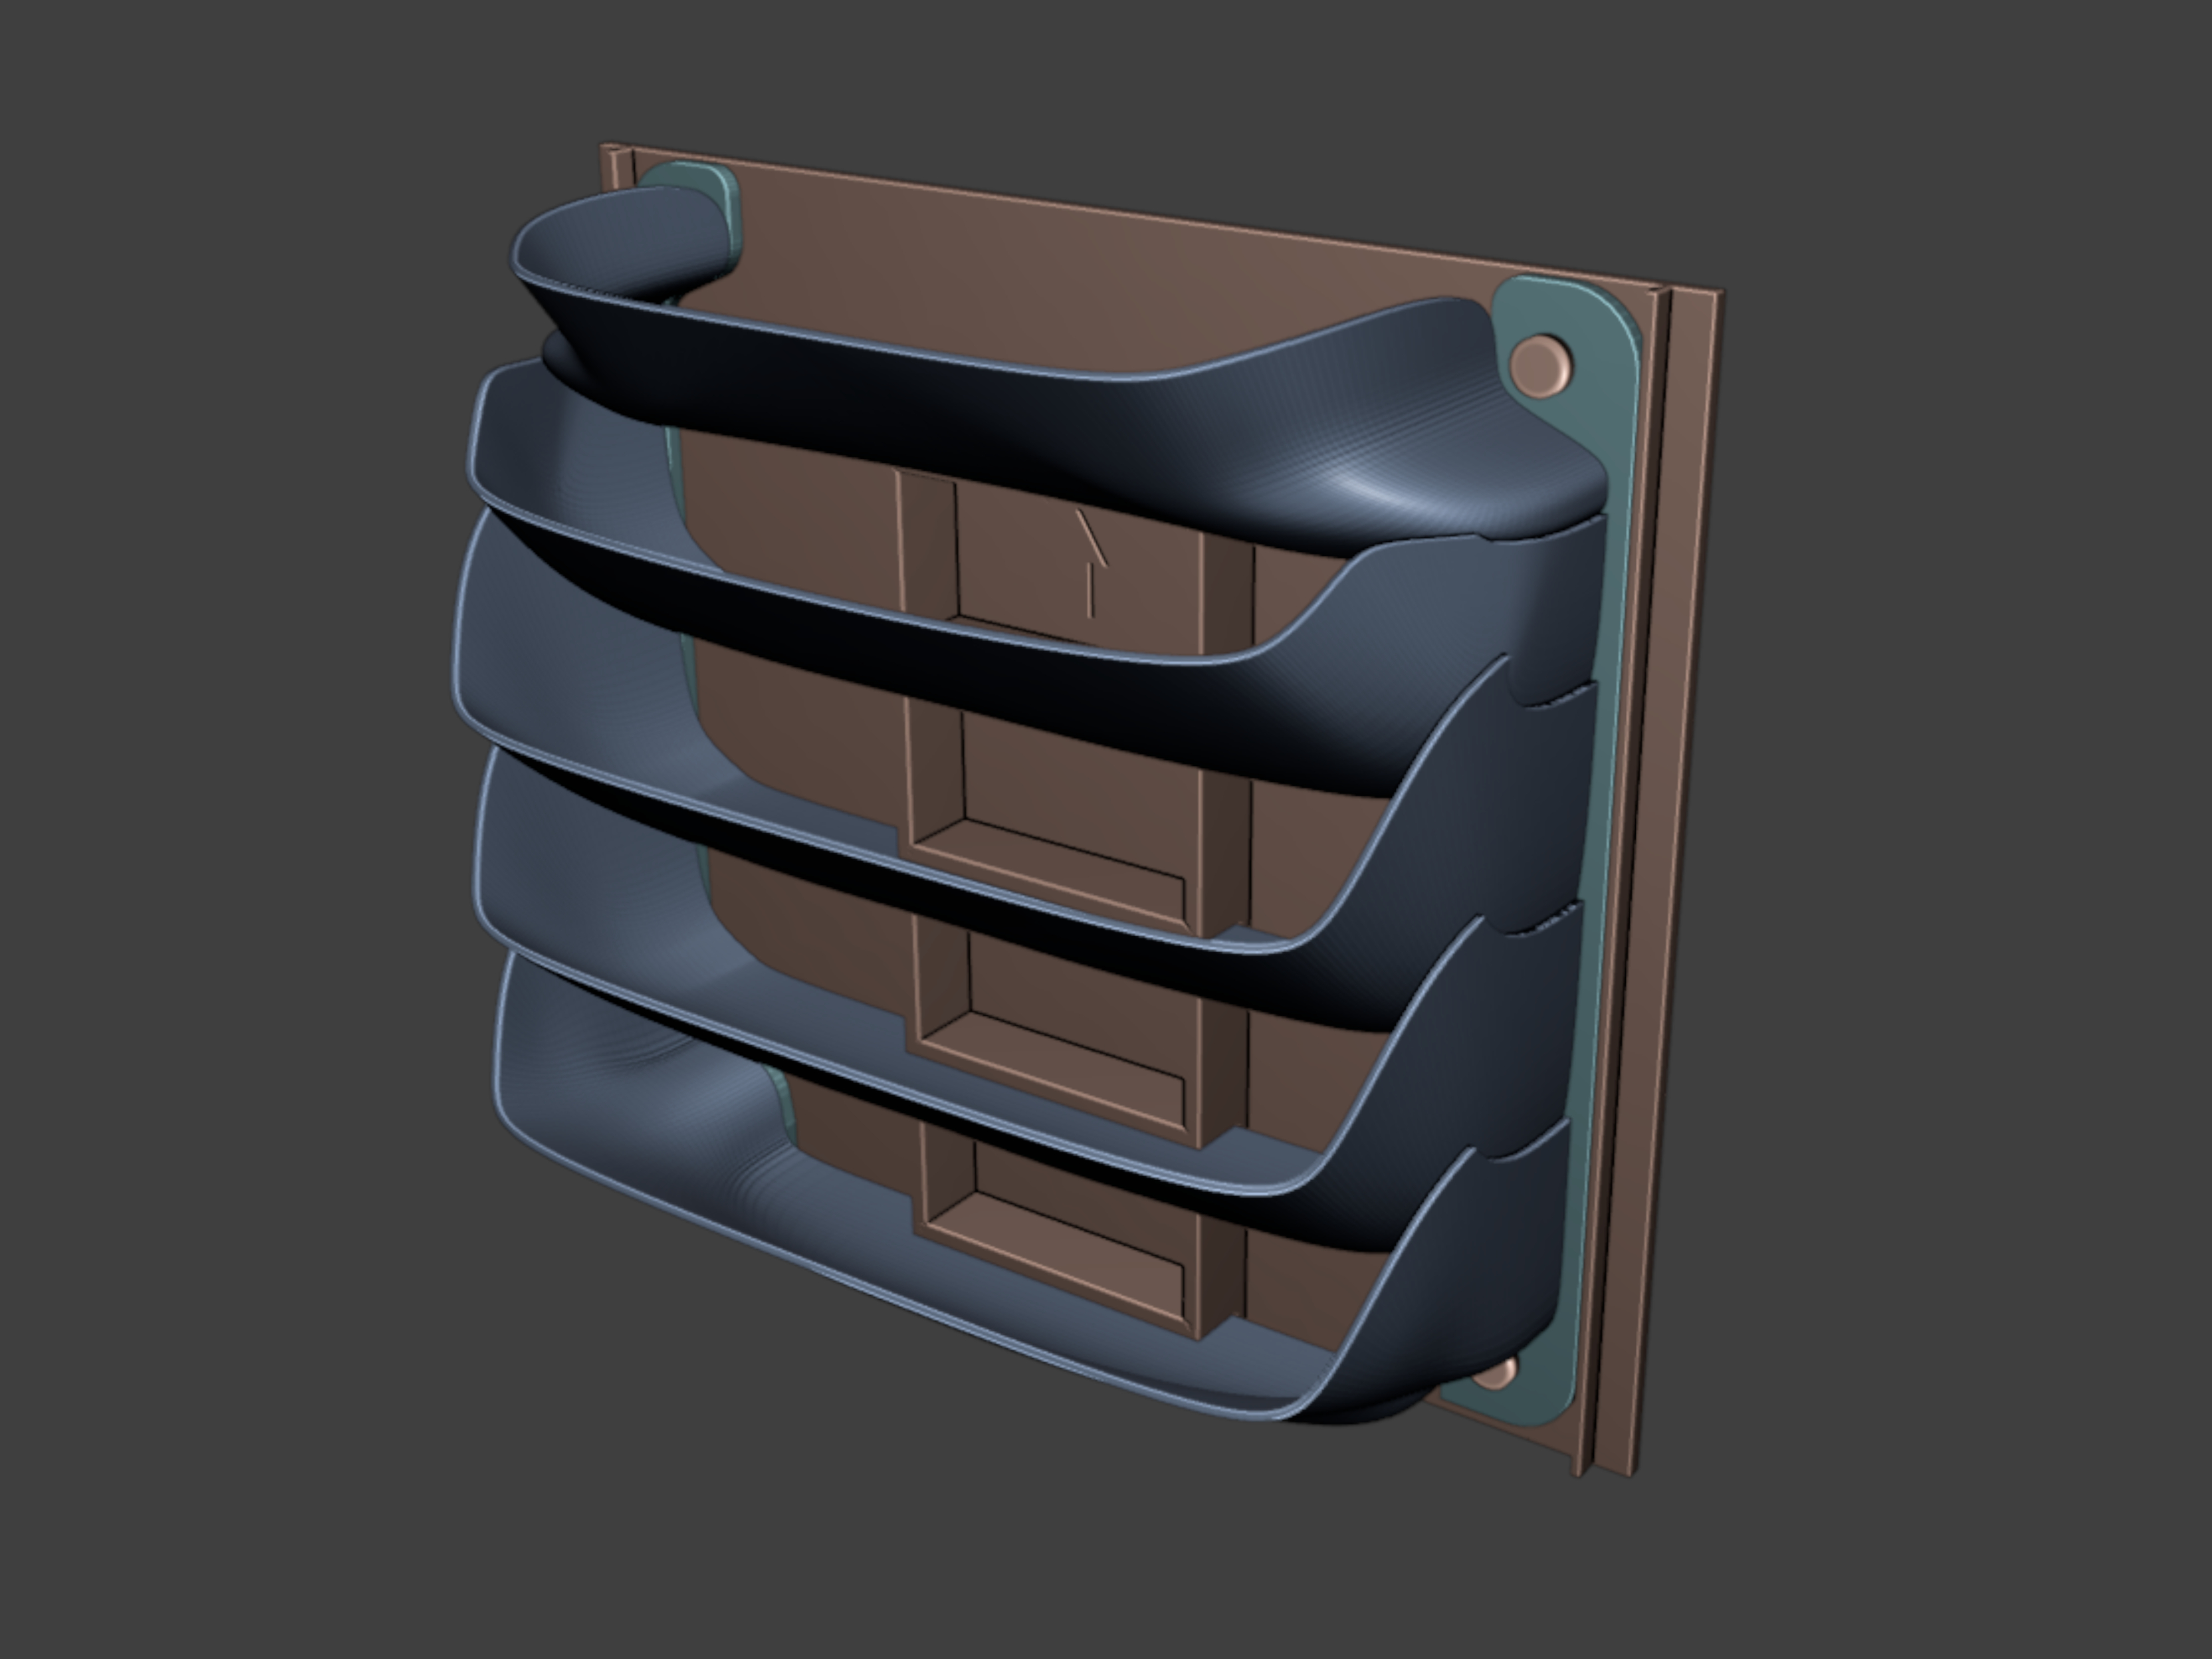
Finally, I glued these pieces together using Gorilla Epoxy Clear and a 3D-printed template to help line up the pieces. I also printed out the mounting plate (the teal part) needed to fix the whole thing in place and glued that as well.
To top it off I sprayed the whole thing with a matte clear coat to make the finished product look nicer.